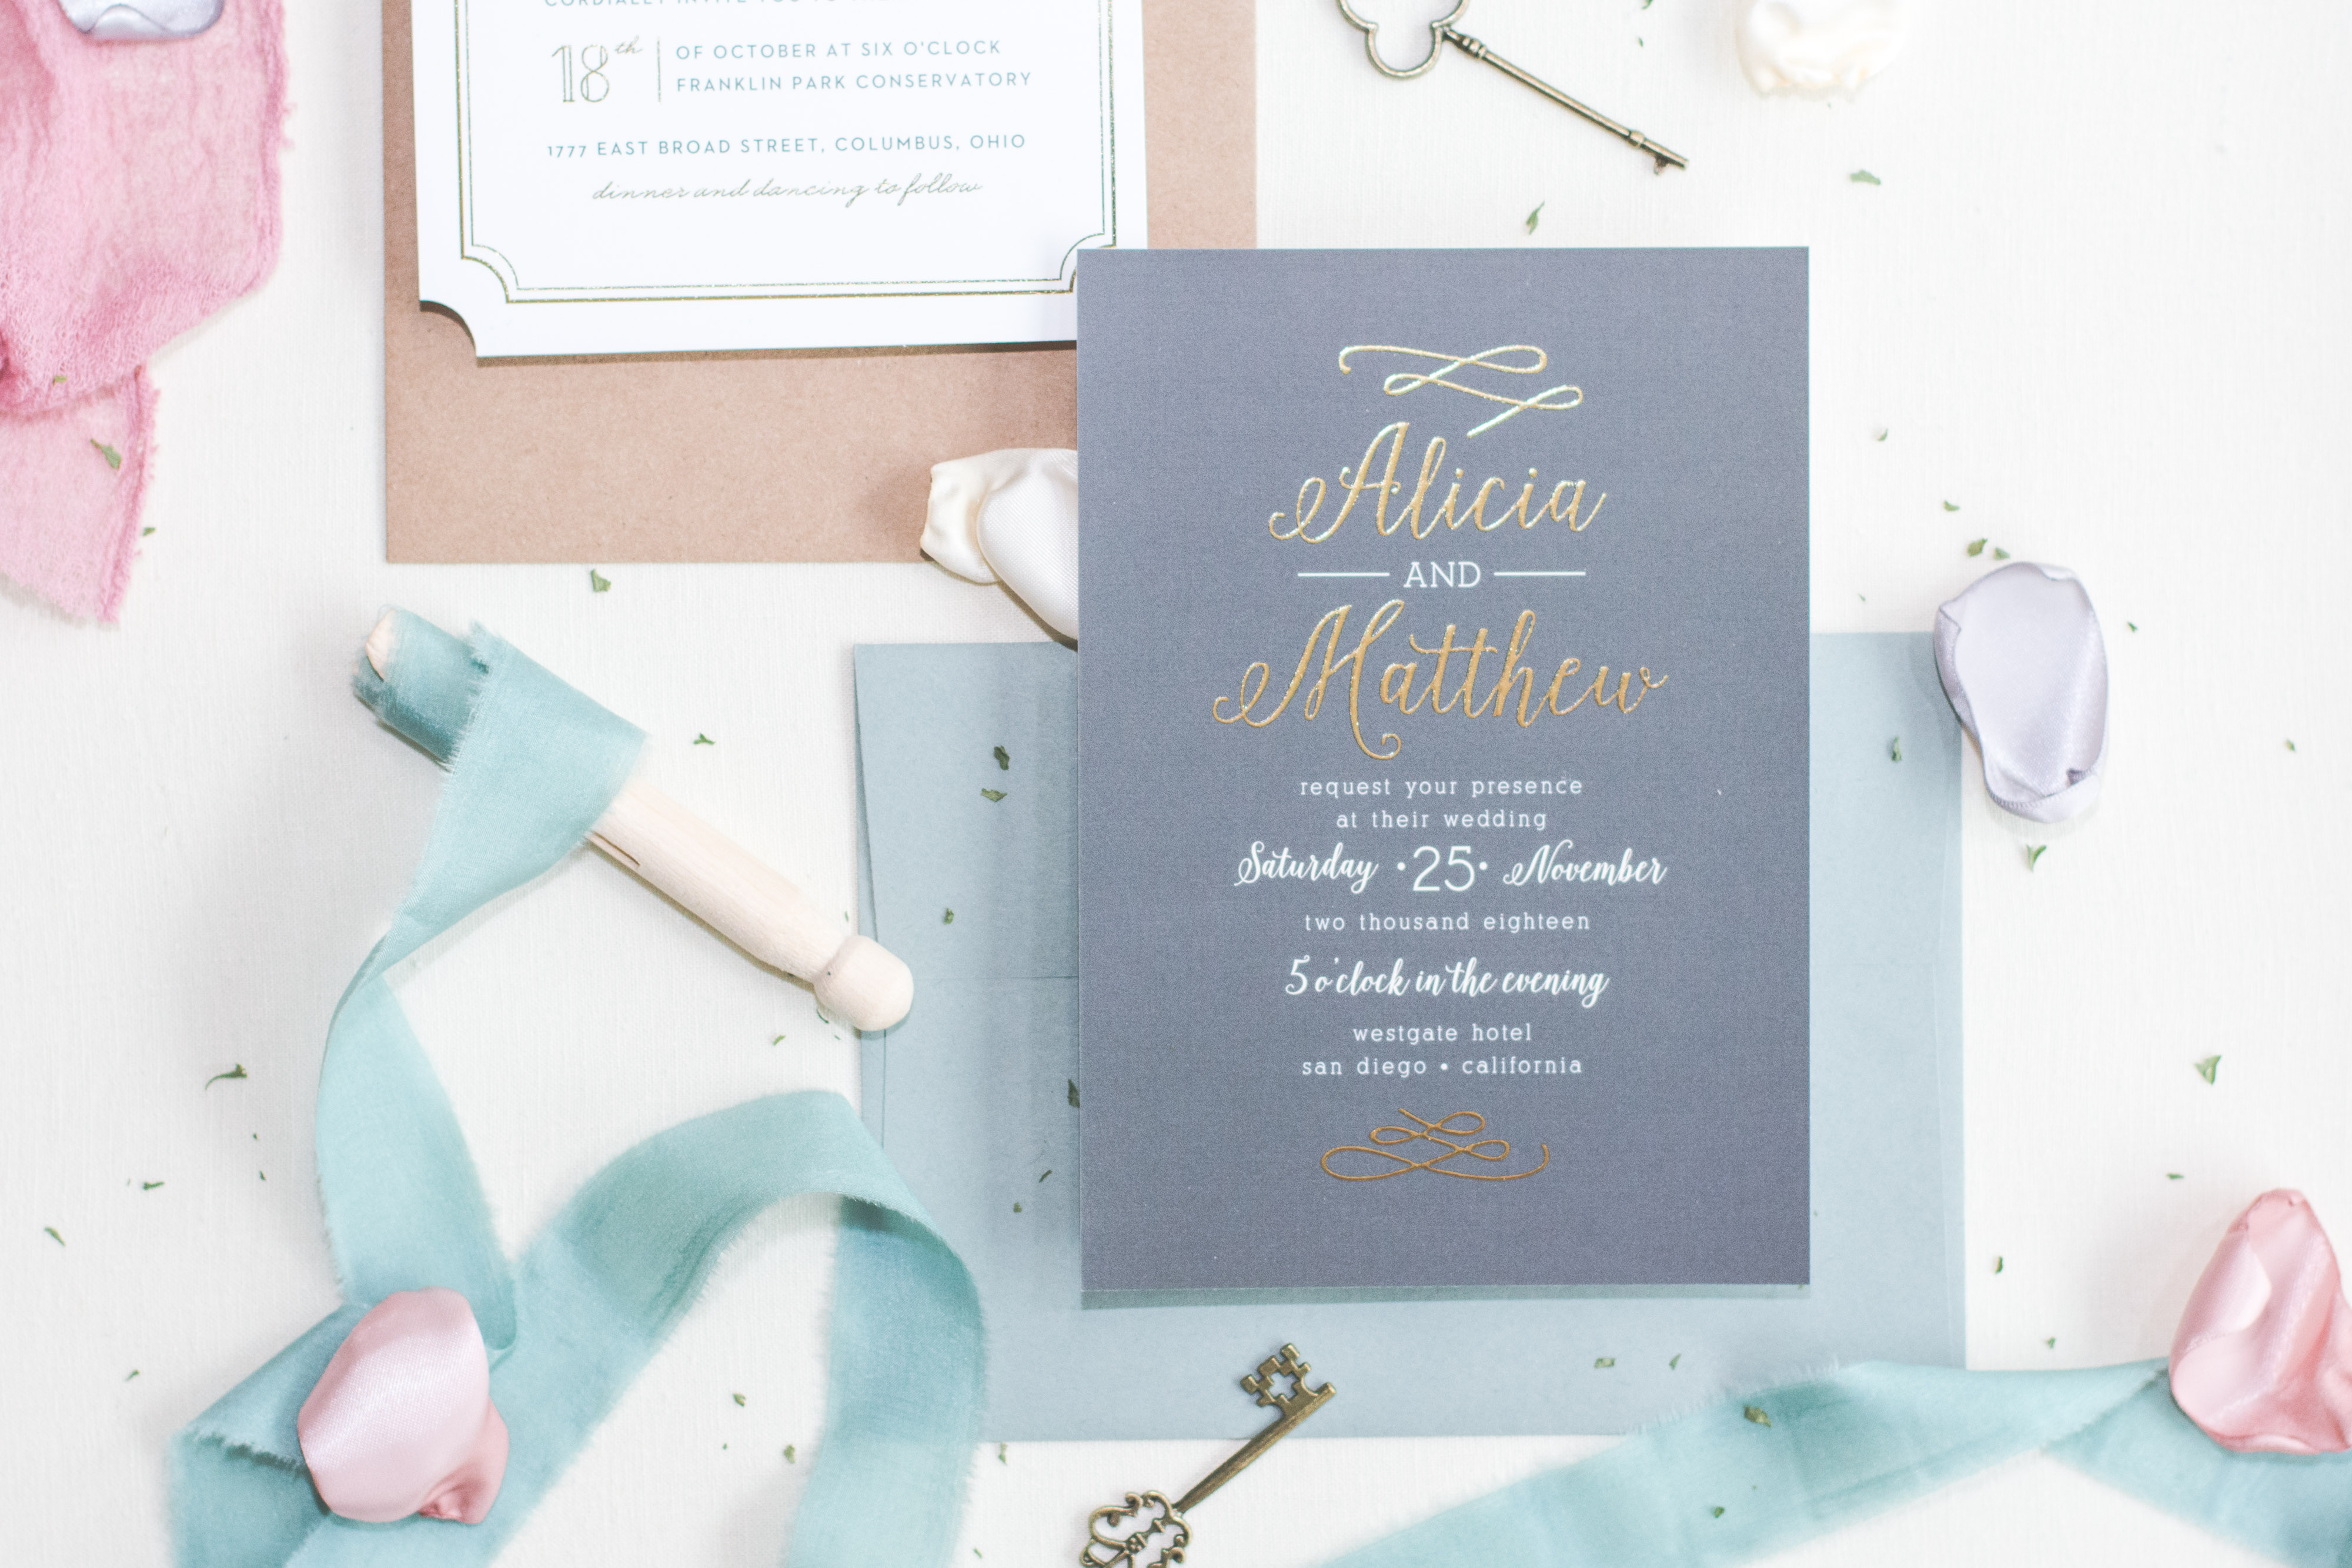
This is one of the most exciting things that I’ve done outside of taking real photos. So over the weekend I decided to do a little DIY project. I made my very own styling boards! What is a styling board? Not just used for wedding photography, a styling board is a flat board usually covered with linen fabric. There are a few different ways to make them but here is how I made mine!
What you need:
-24×30 canvas board
-1 yard of linen
-staple gun (and staples!)
-steamer
-scotch guard
-scissors
-4 clamps, plastic will do.
-patience (ha)
So step one was going to store to get all of materials. Then I got the 24×30 canvas board at Walmart. You can get them as a set of 2 for just $15! So of course I got 2 different colors of linen.
You can get 1 yard of linen at most arts and crafts stores, but for me it was JoAnn’s Fabrics. I took my time picking out colors. This time I made four because I wanted to have a nice, small variety. I picked 2 neutrals, a tan/beige and of course I had to pick grey! Then I was lucky enough to find a teal one, which is also a part of my color scheme. I picked a rose/pink color for my 4th because I wanted a warm-toned color pop. I also checked out the colors of the pre-made ones you can buy. I’m also going to add a lilac, light blue, burgundy, and probably a green in the future. It’s good to pick some neutrals, as well as bold colors. Follow the color trends of your brides and grooms, too!
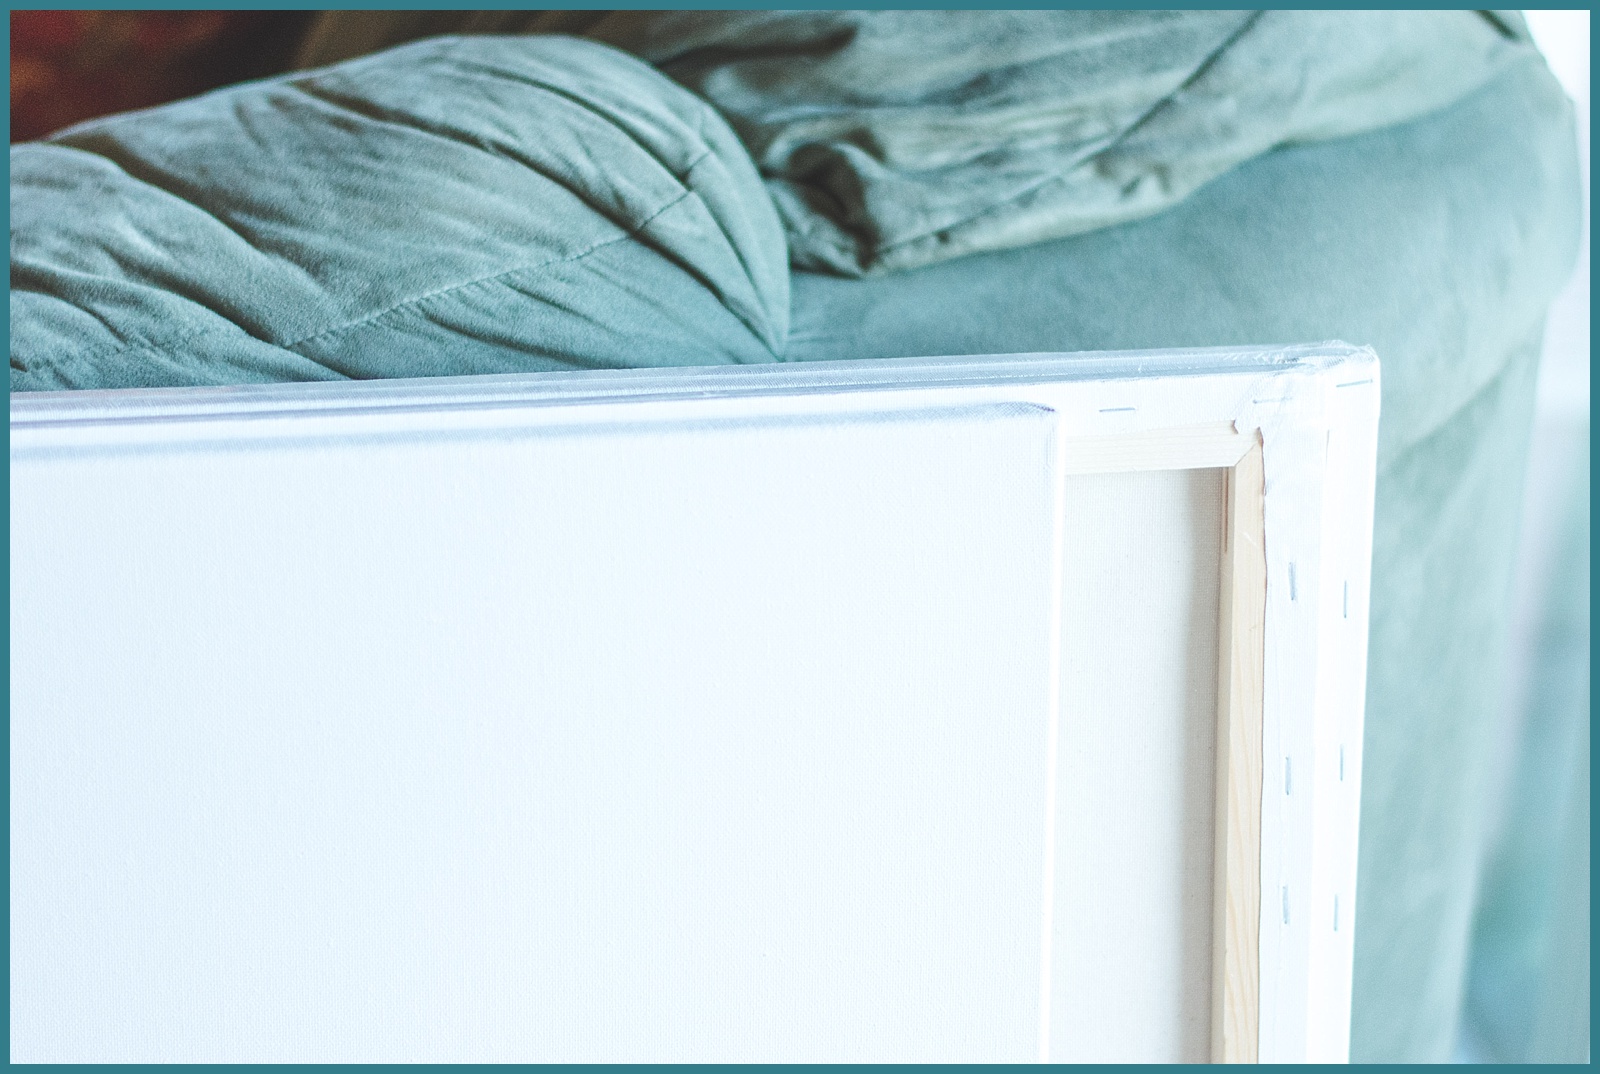
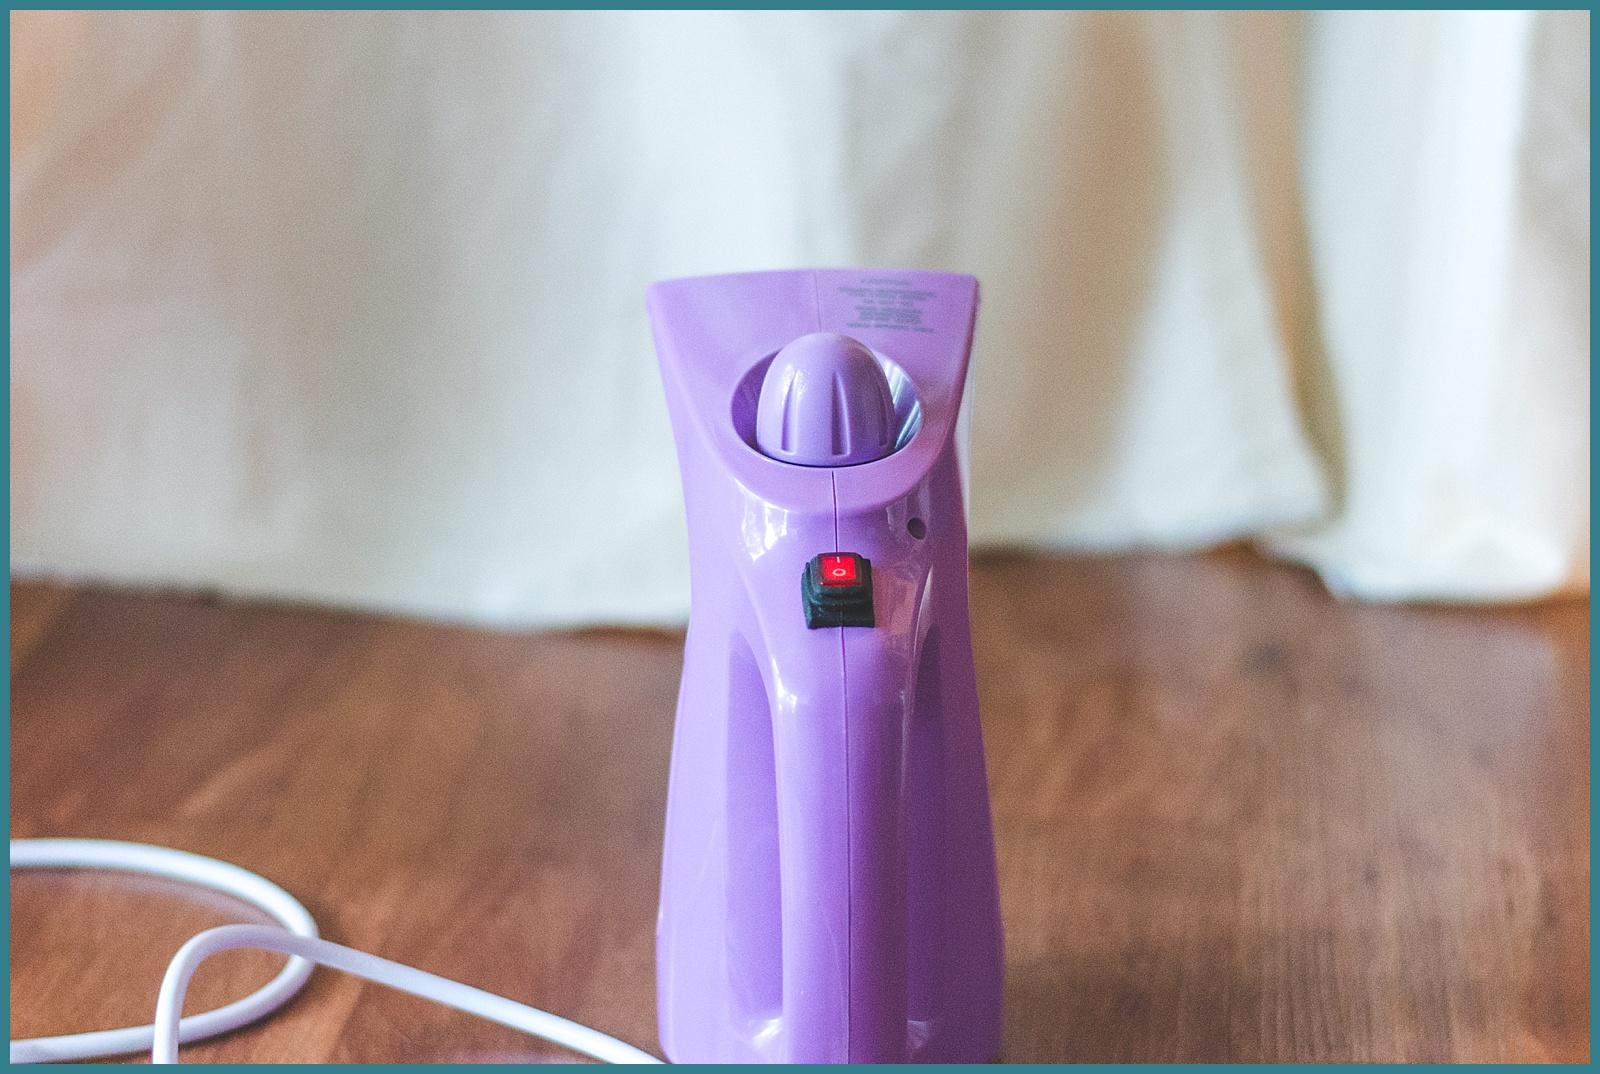
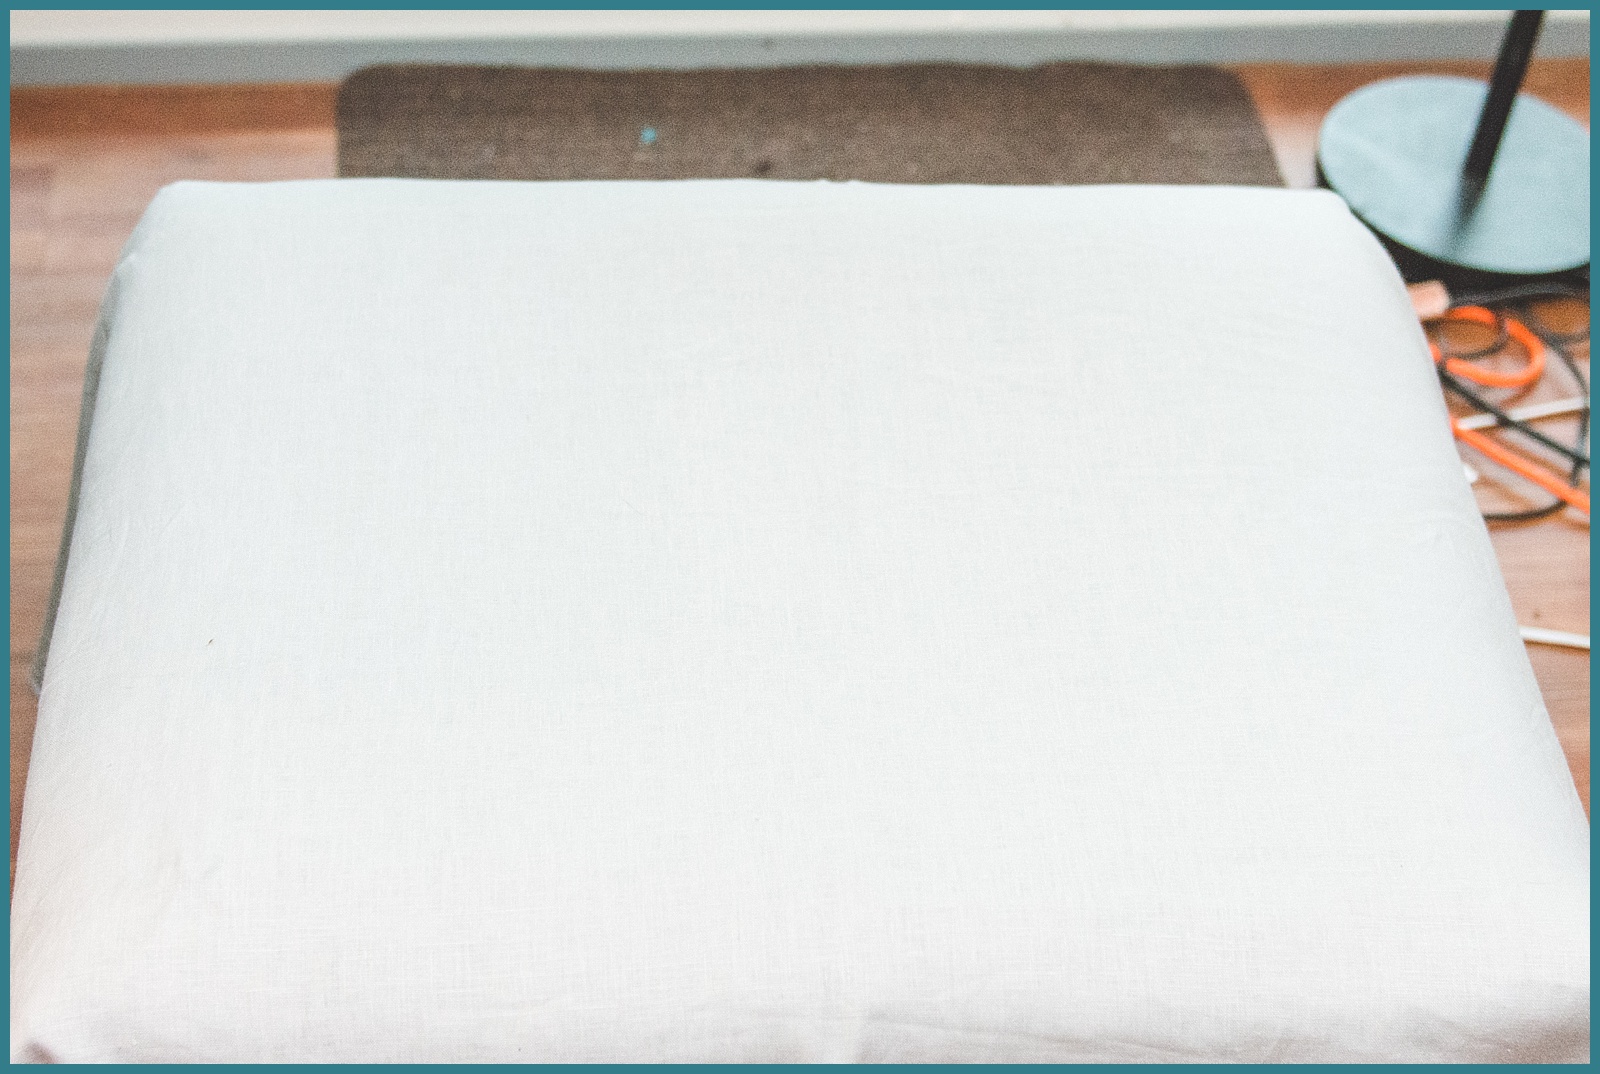
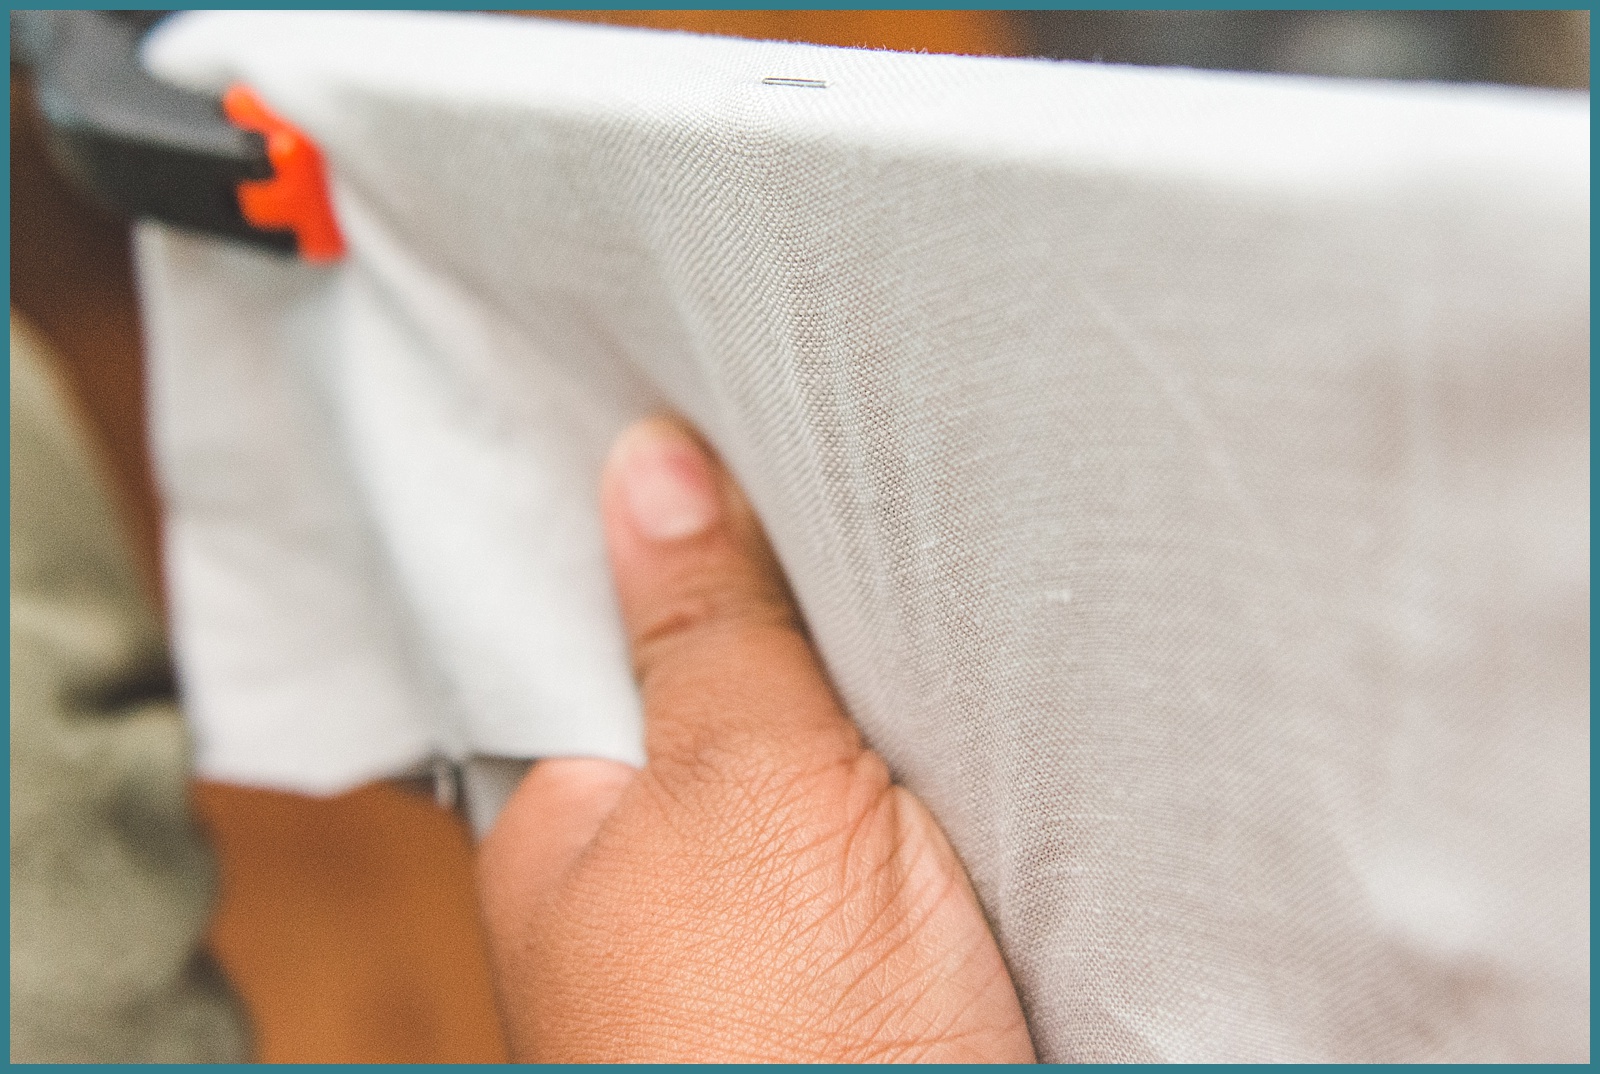
So after I got my materials, I got home and unfolded my linen. It’s usually wrapped around cardboard and has crease lines. I started to steam each piece one at a time. At first I just laid it out vertically and steamed it, then I discovered that by clamping the top 2 corners, I could get the creases out better. I didn’t get every wrinkle out because I knew I would stretch the linen on the canvas.
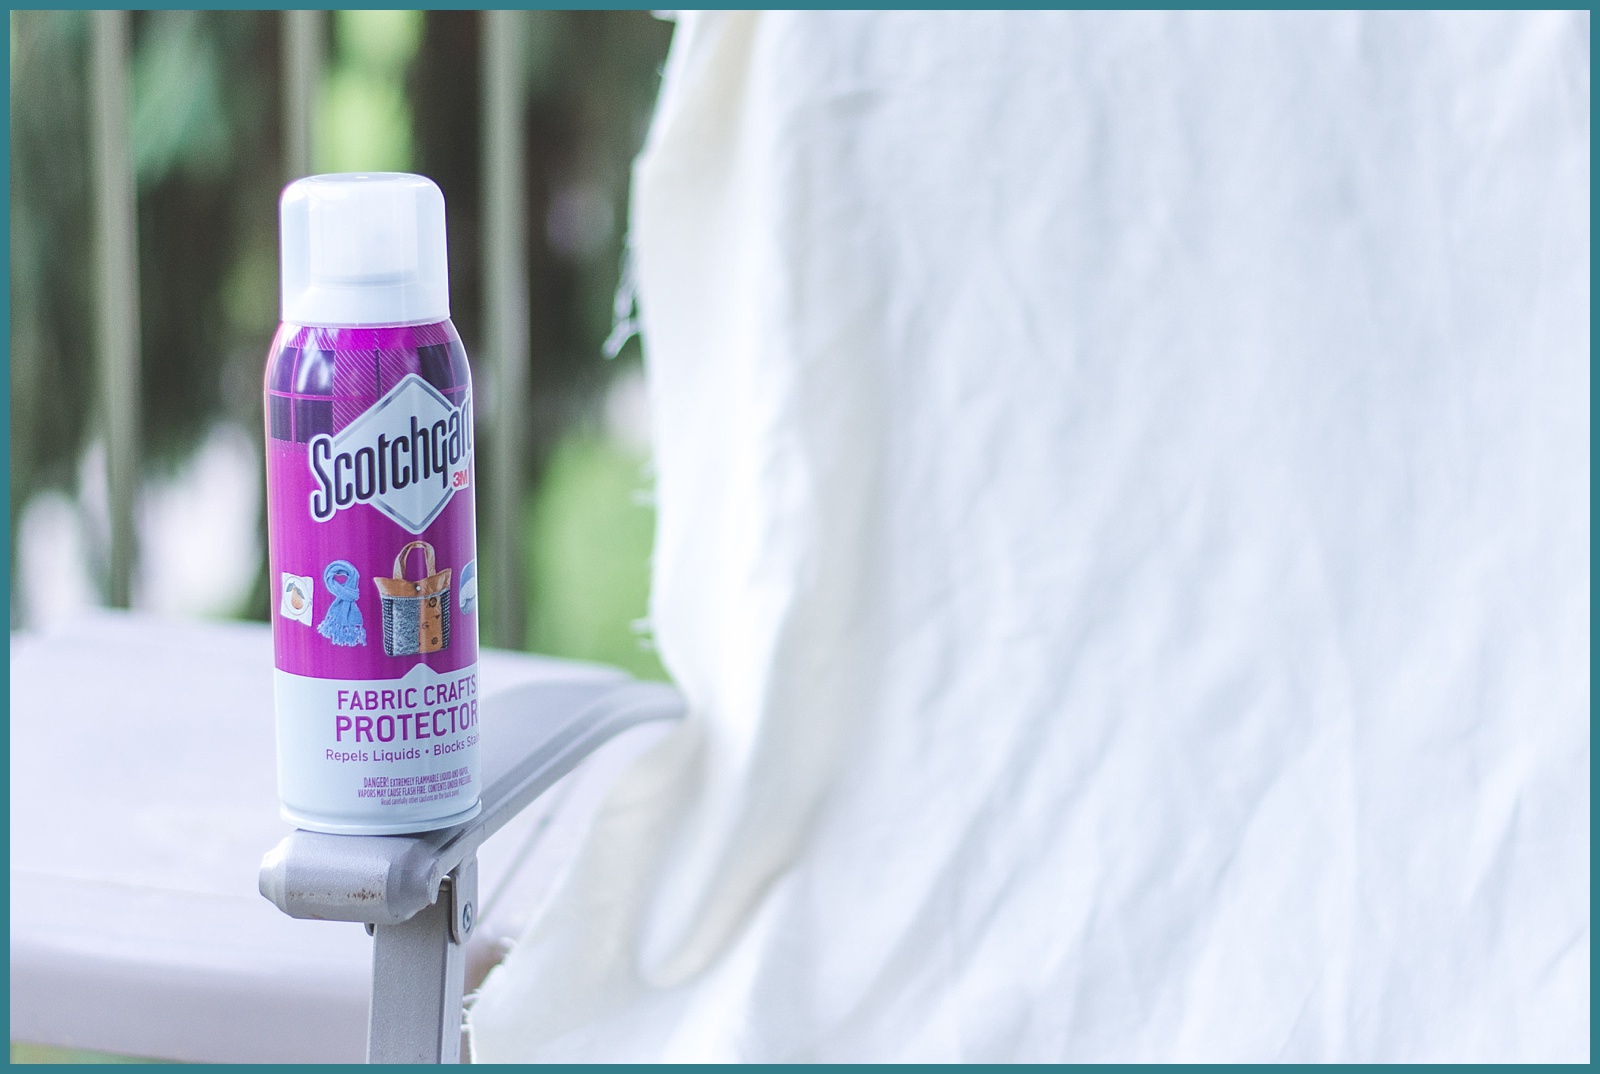
After it’s properly steamed, I took it outside on my porch and scotch-guarded the material. This insures that it will stay pretty clean while you use it. I got a Scotch guard that was water-resistant! Super important! Follow the directions on the can, but it should be something along the lines of 2 coats, spray about 6 inches away.
As I let each linen dry, I started to steam the next one, like a mini DIY factory!
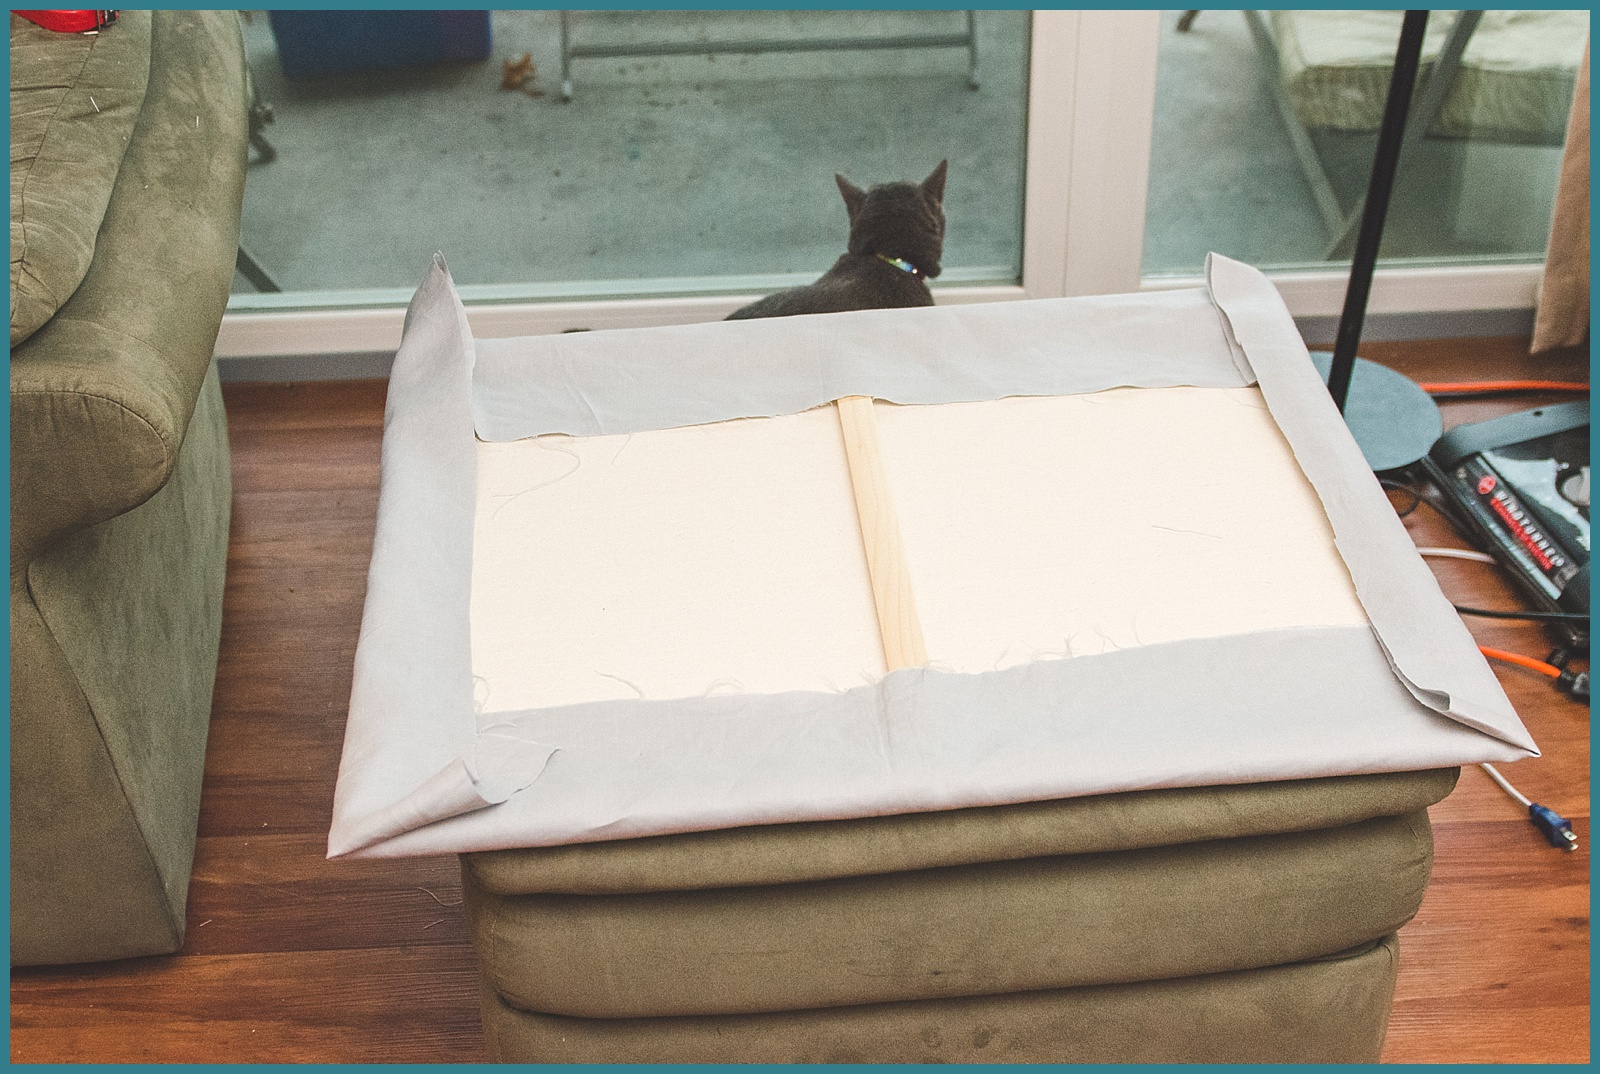
Okay, next comes the fun part where patience comes in. I’m not super handy myself so the first one took longer than it should have. Take your linen and lay the sprayed surface down on a flat area. Then put the canvas in the middle and lightly fold the excess fabric.
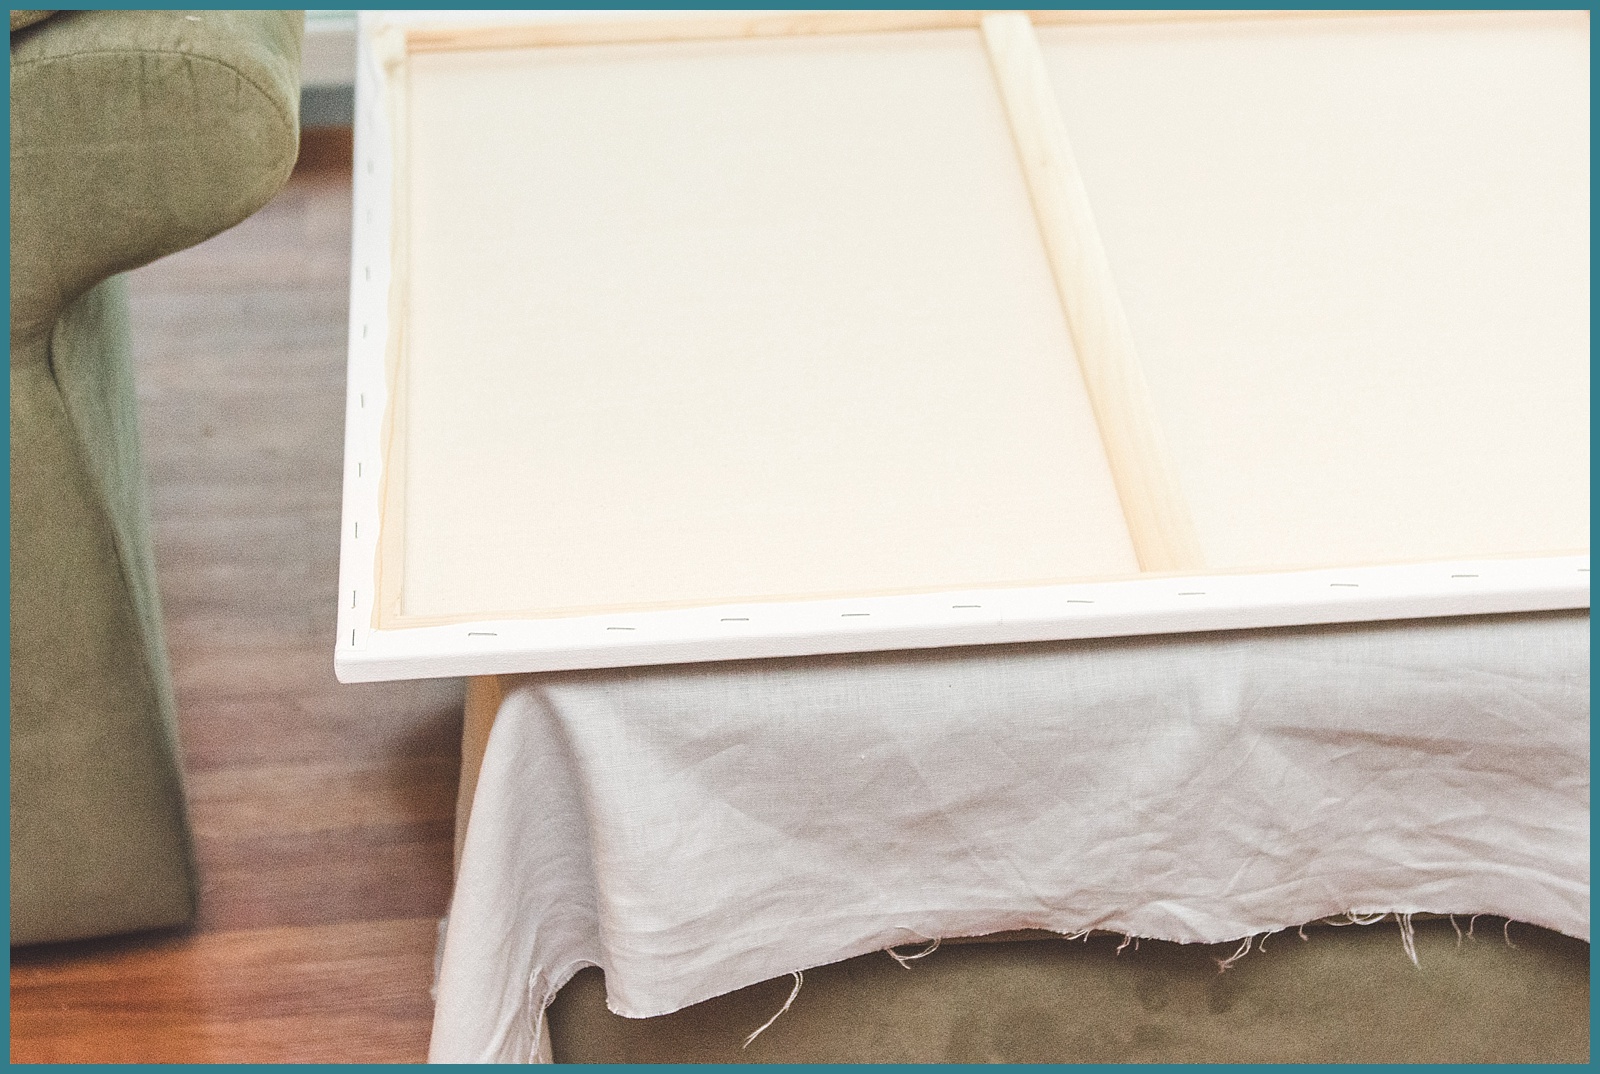
Disclaimer: Your cat may try to “help”
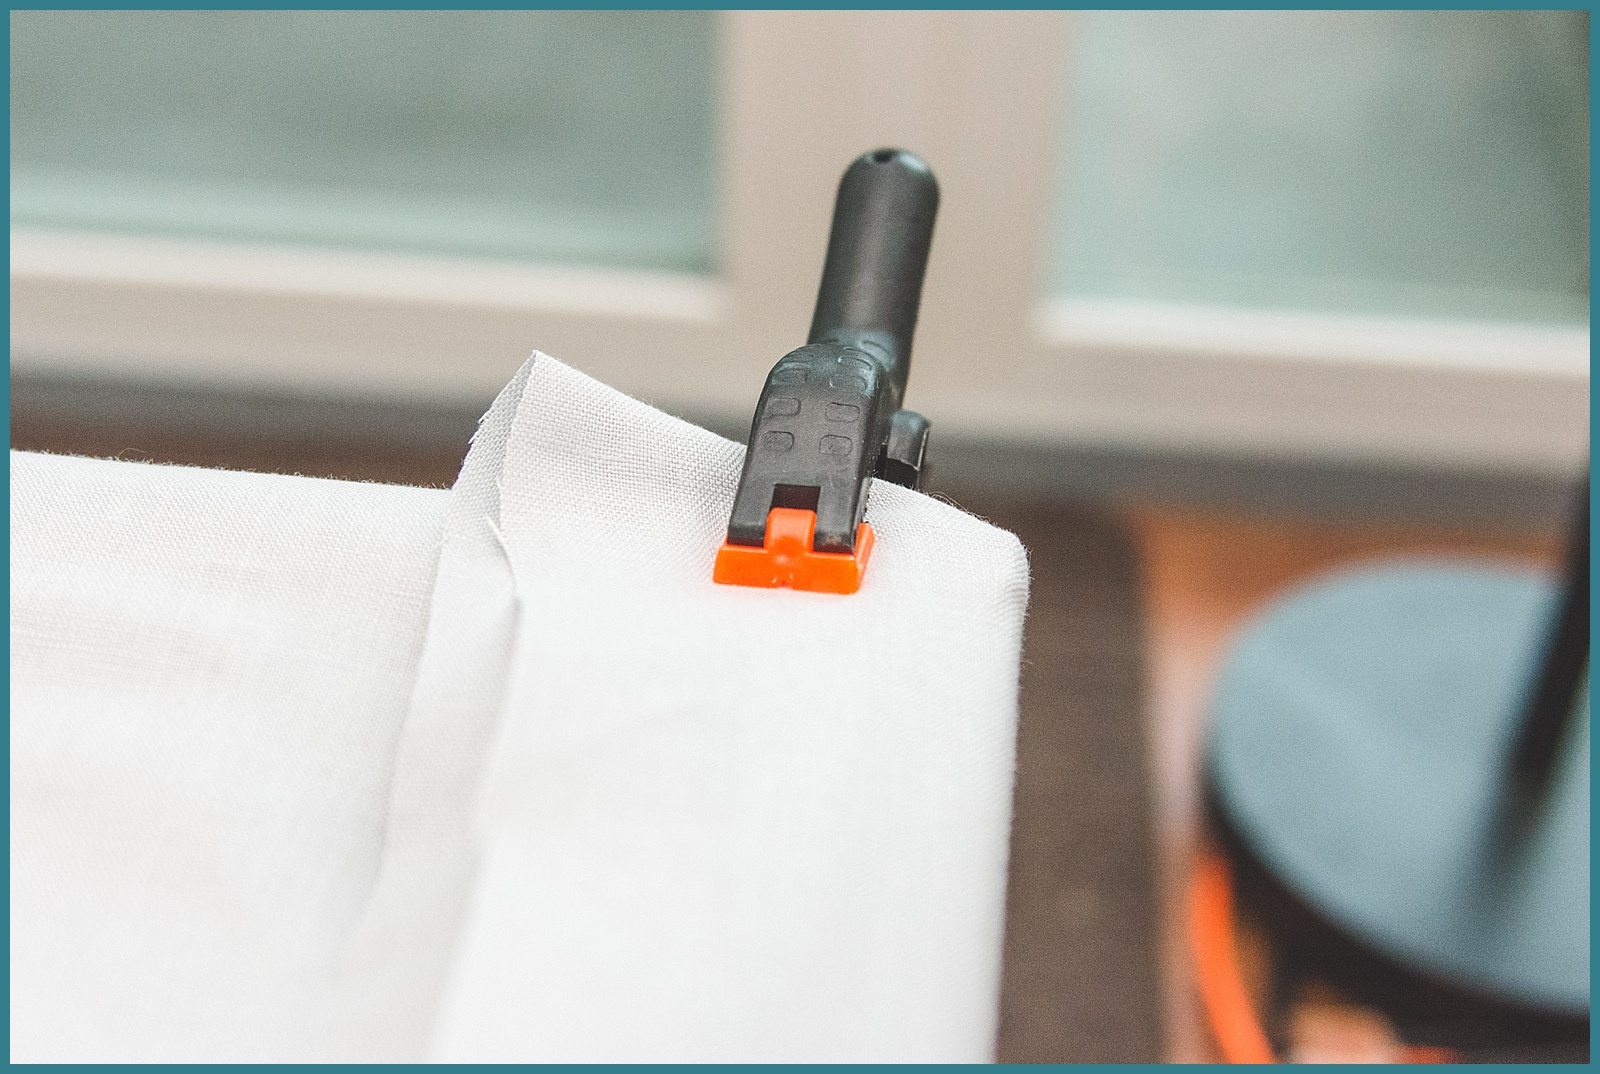
Remember those clamps? You’re gonna want to take them and clamp each of the 4 corners on the canvas. As you clamp the corners, pull tightly to lay that linen flat on the canvas. I didn’t do this for the first one and it took a while. The clamps are a real time saver.
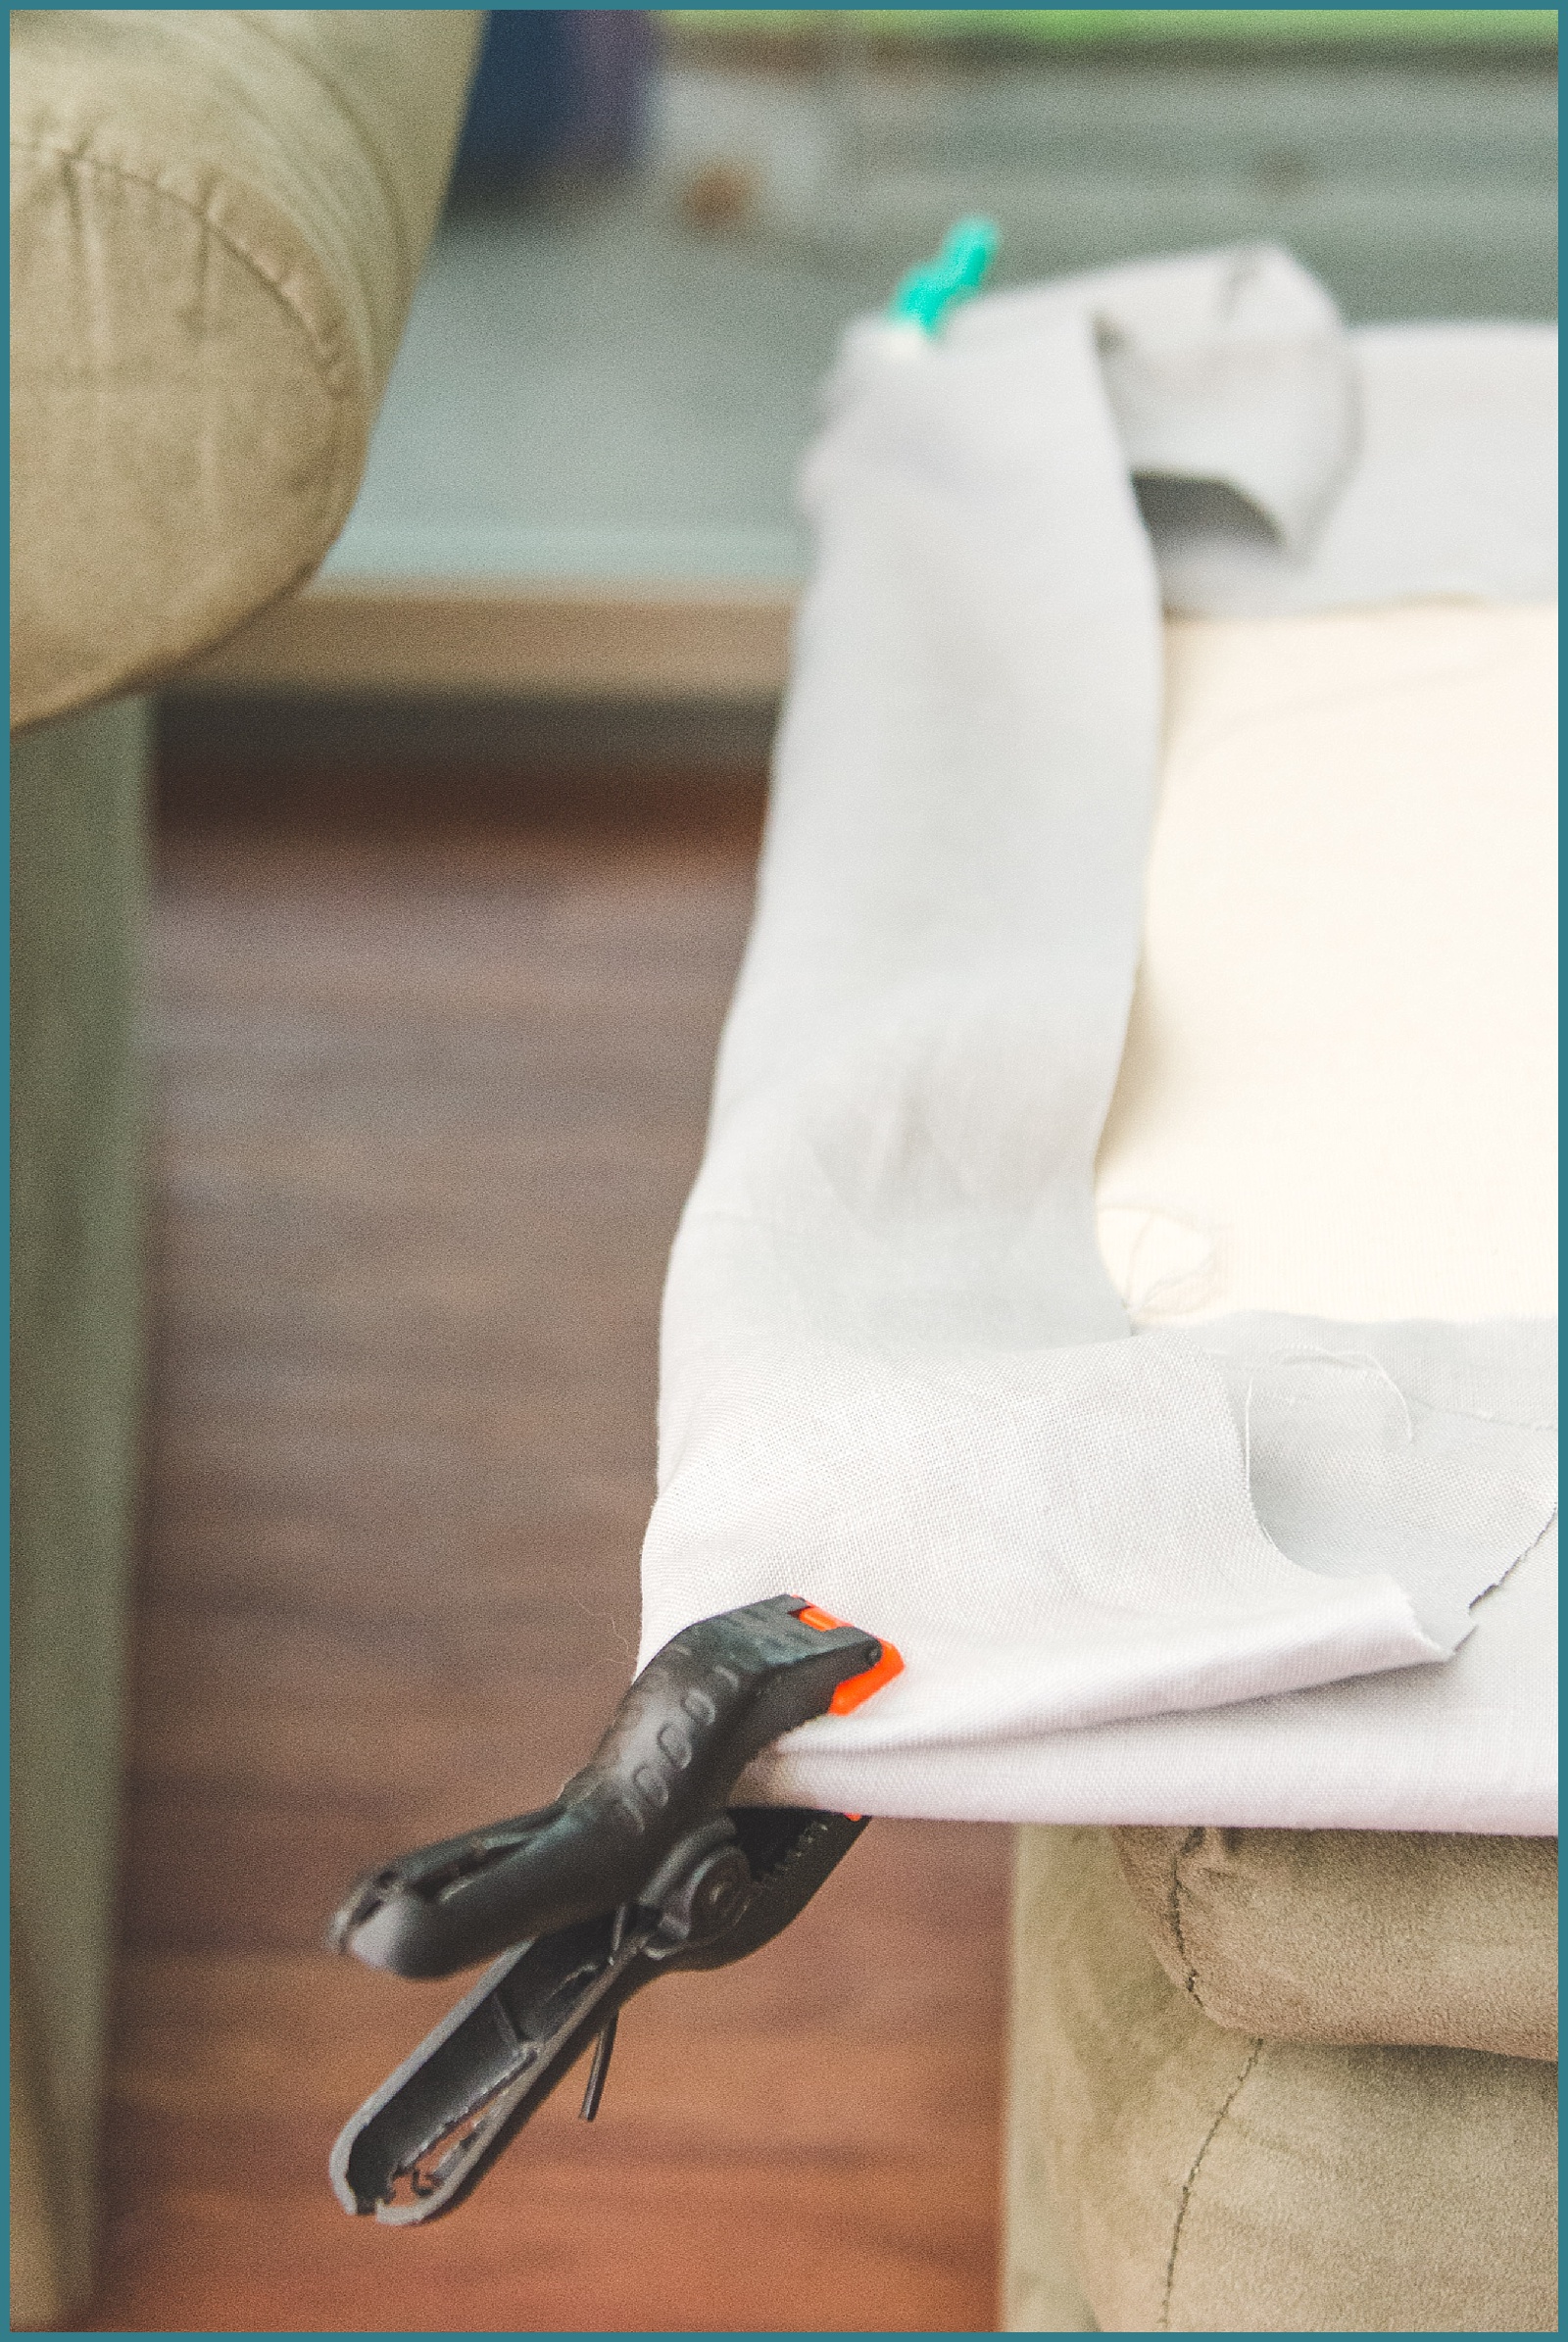
Once clamped I pick a side to start with and staple the linen to the canvas board. Usually I started with the wood that runs down the middle. Then I staple a few more into the board, pulling as I do to make sure the linen stays stretched and tight. I found a good way to make sure the linen stays tight was by doing 3-4 staples per side and then removing the clamps.
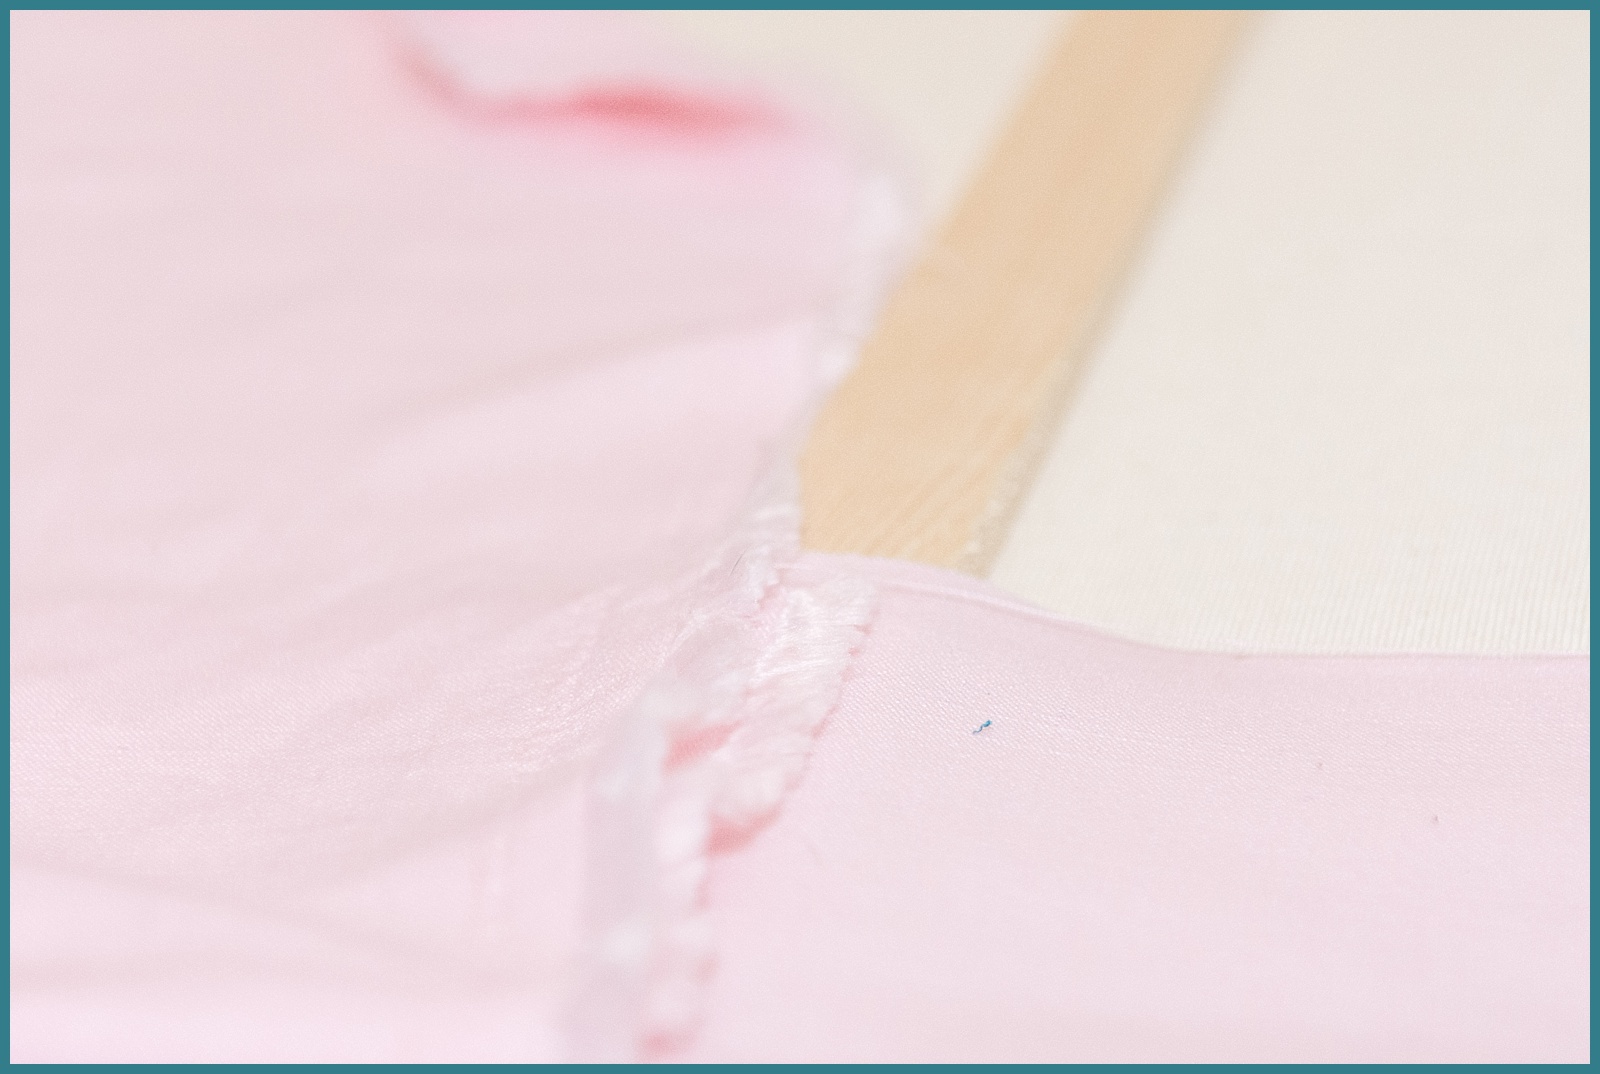
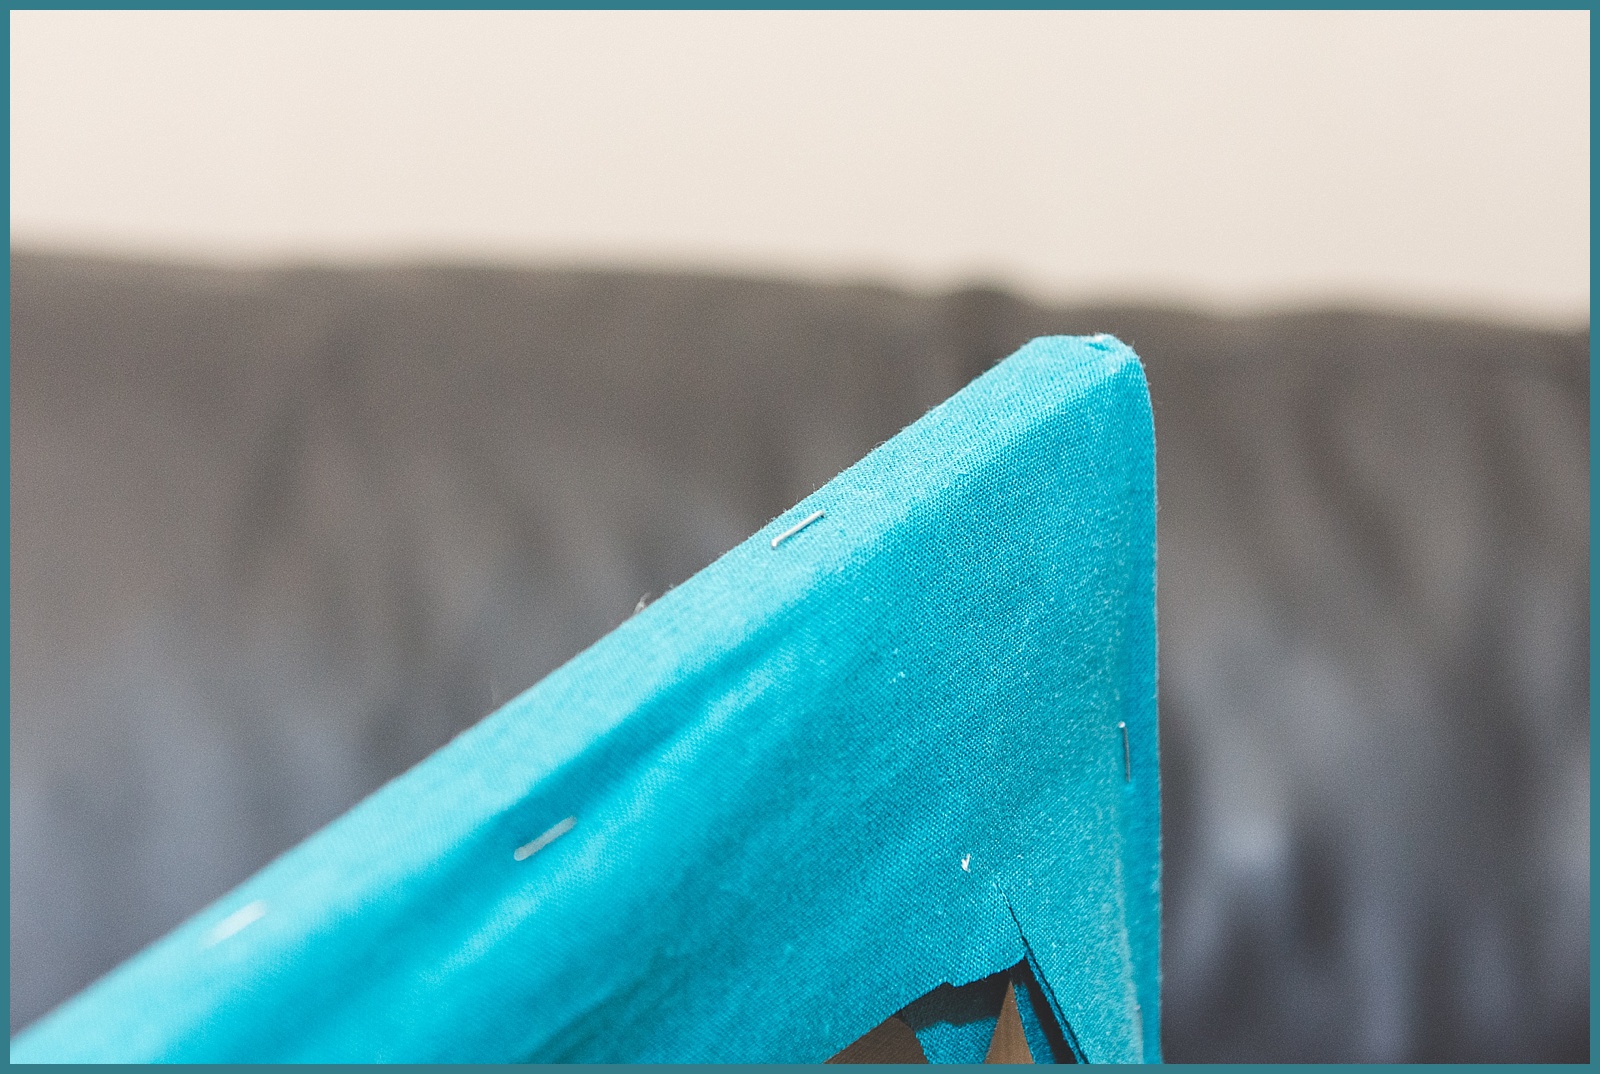
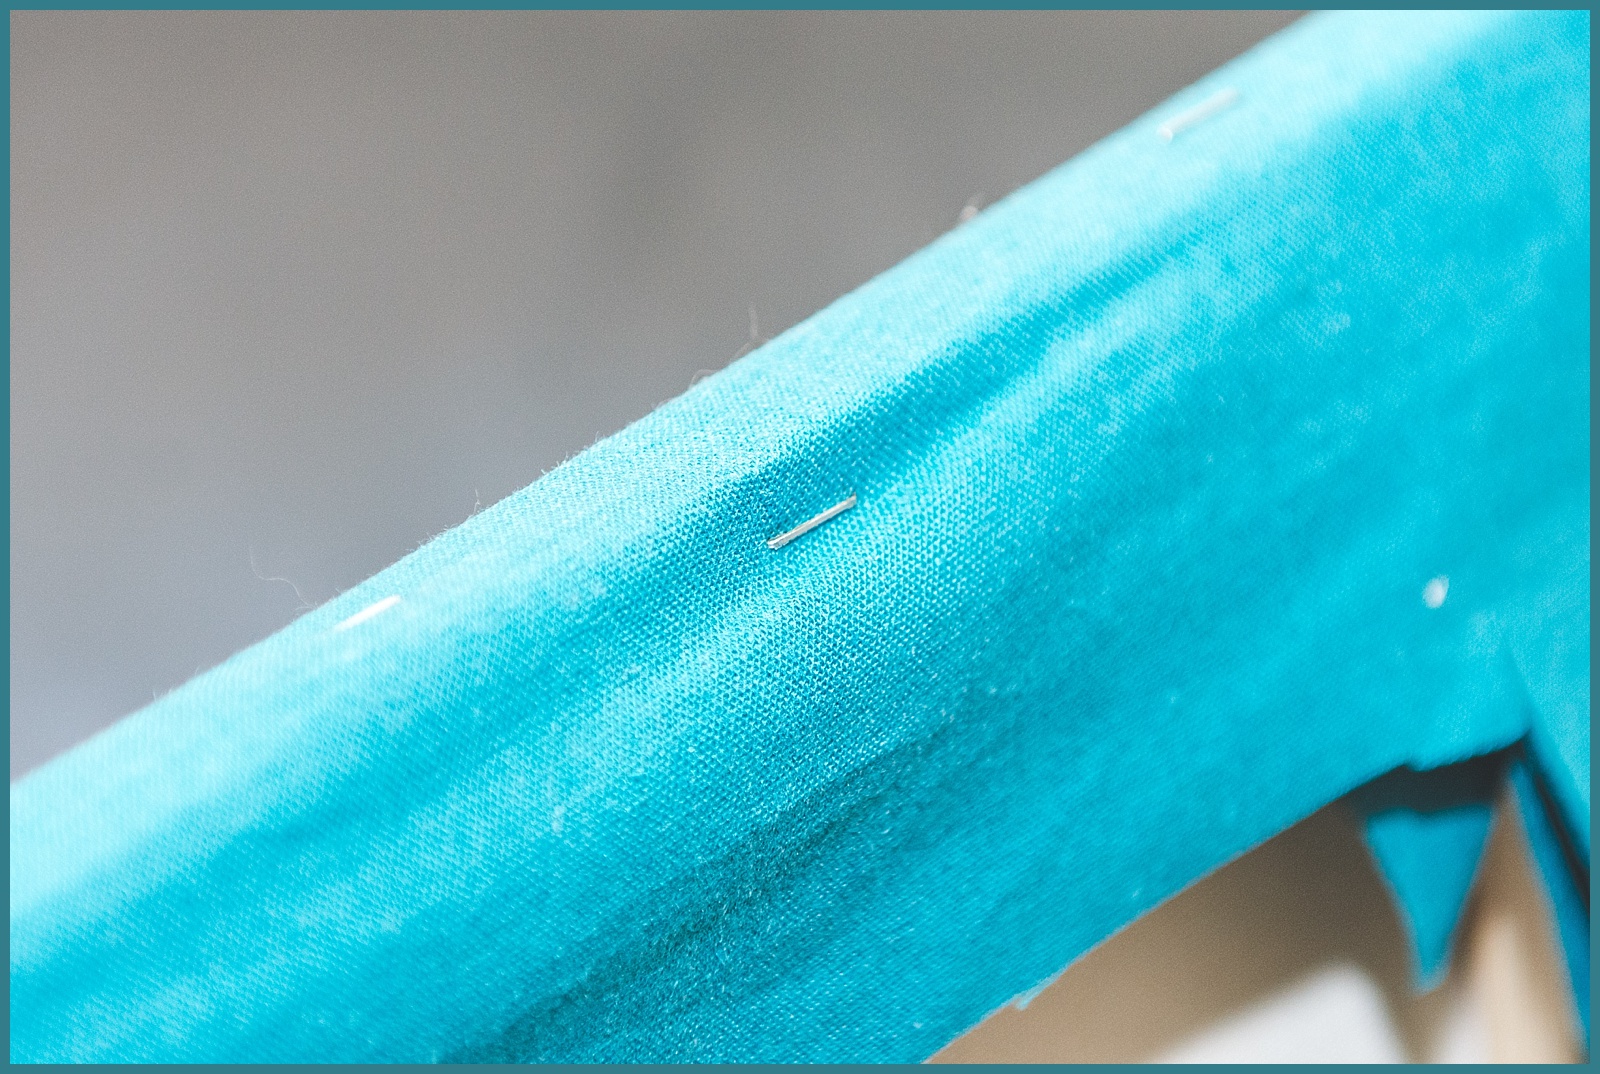
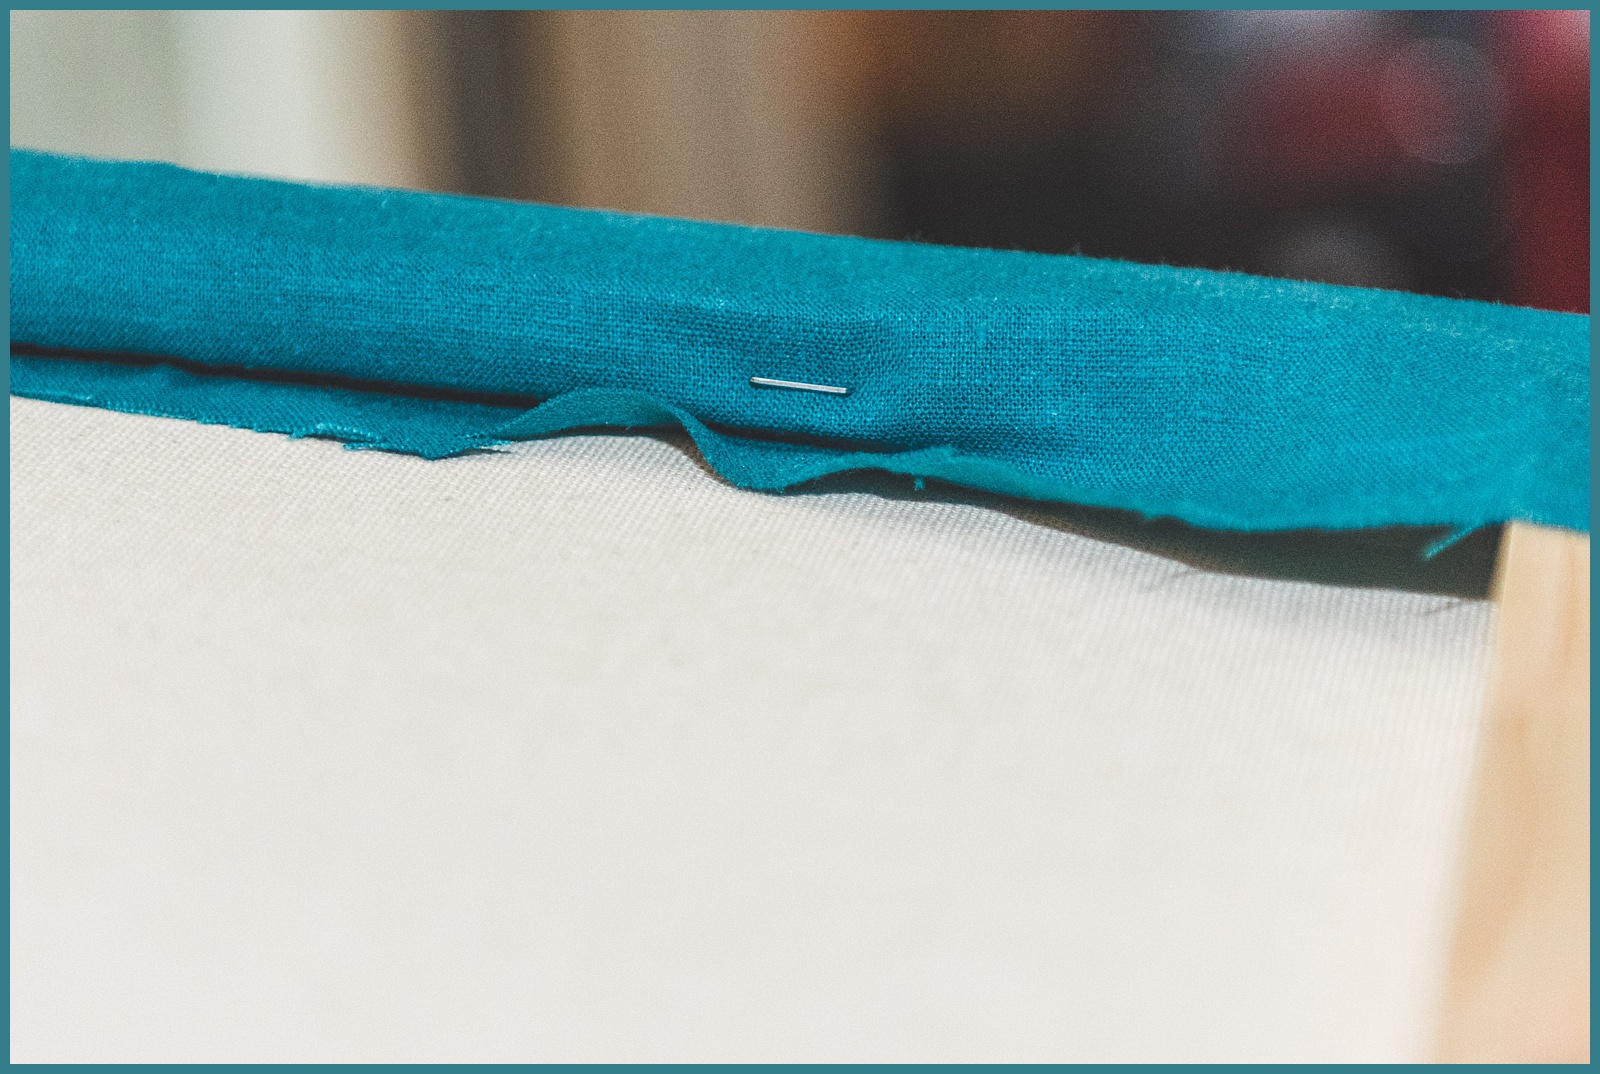
Then again, I kept pulling as I added more staples. I also stapled the outer edge instead of just the back to really make sure it stayed. Be sure to check the front to make sure you’ve pulled the wrinkles out and it stays tight!
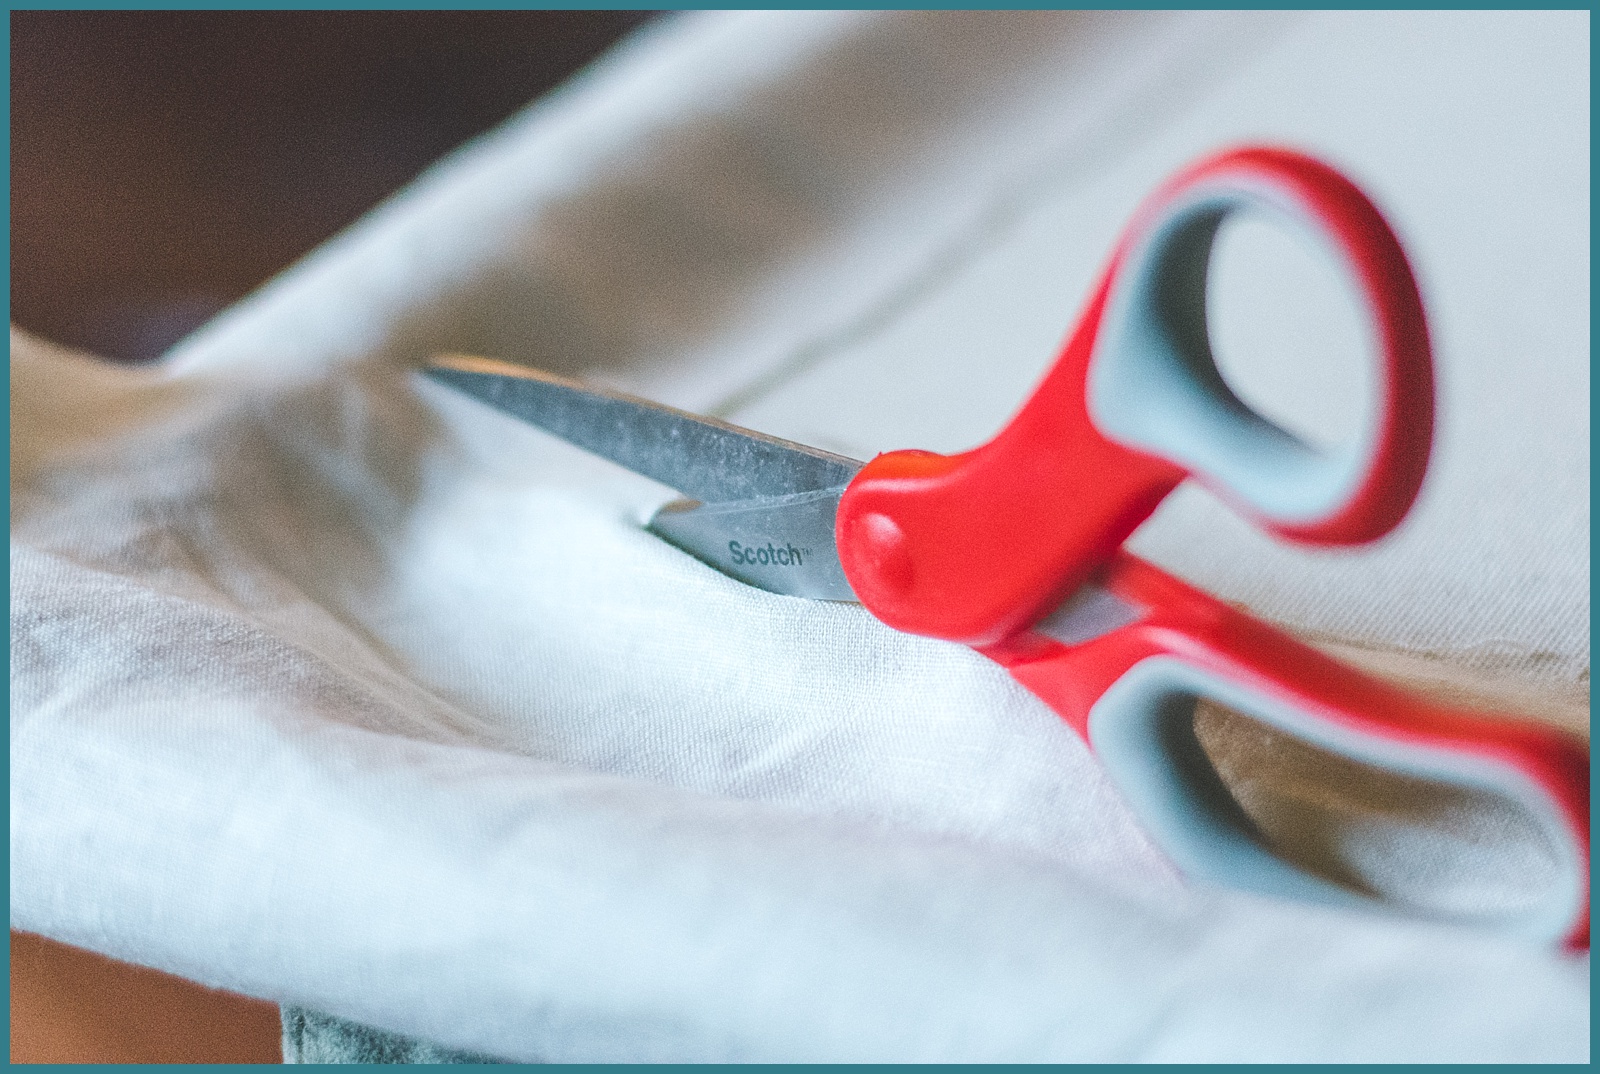
To get the corners, I pulled some of the excess fabric to the edge and stapled that down. Once I was satisfied with the staples (so many staples), I took my scissors and cut as close to the edge as I could to get rid of the excess fabric. If you want a nice tight look, you can staple the fabric to the inner side so almost no wood is showing.
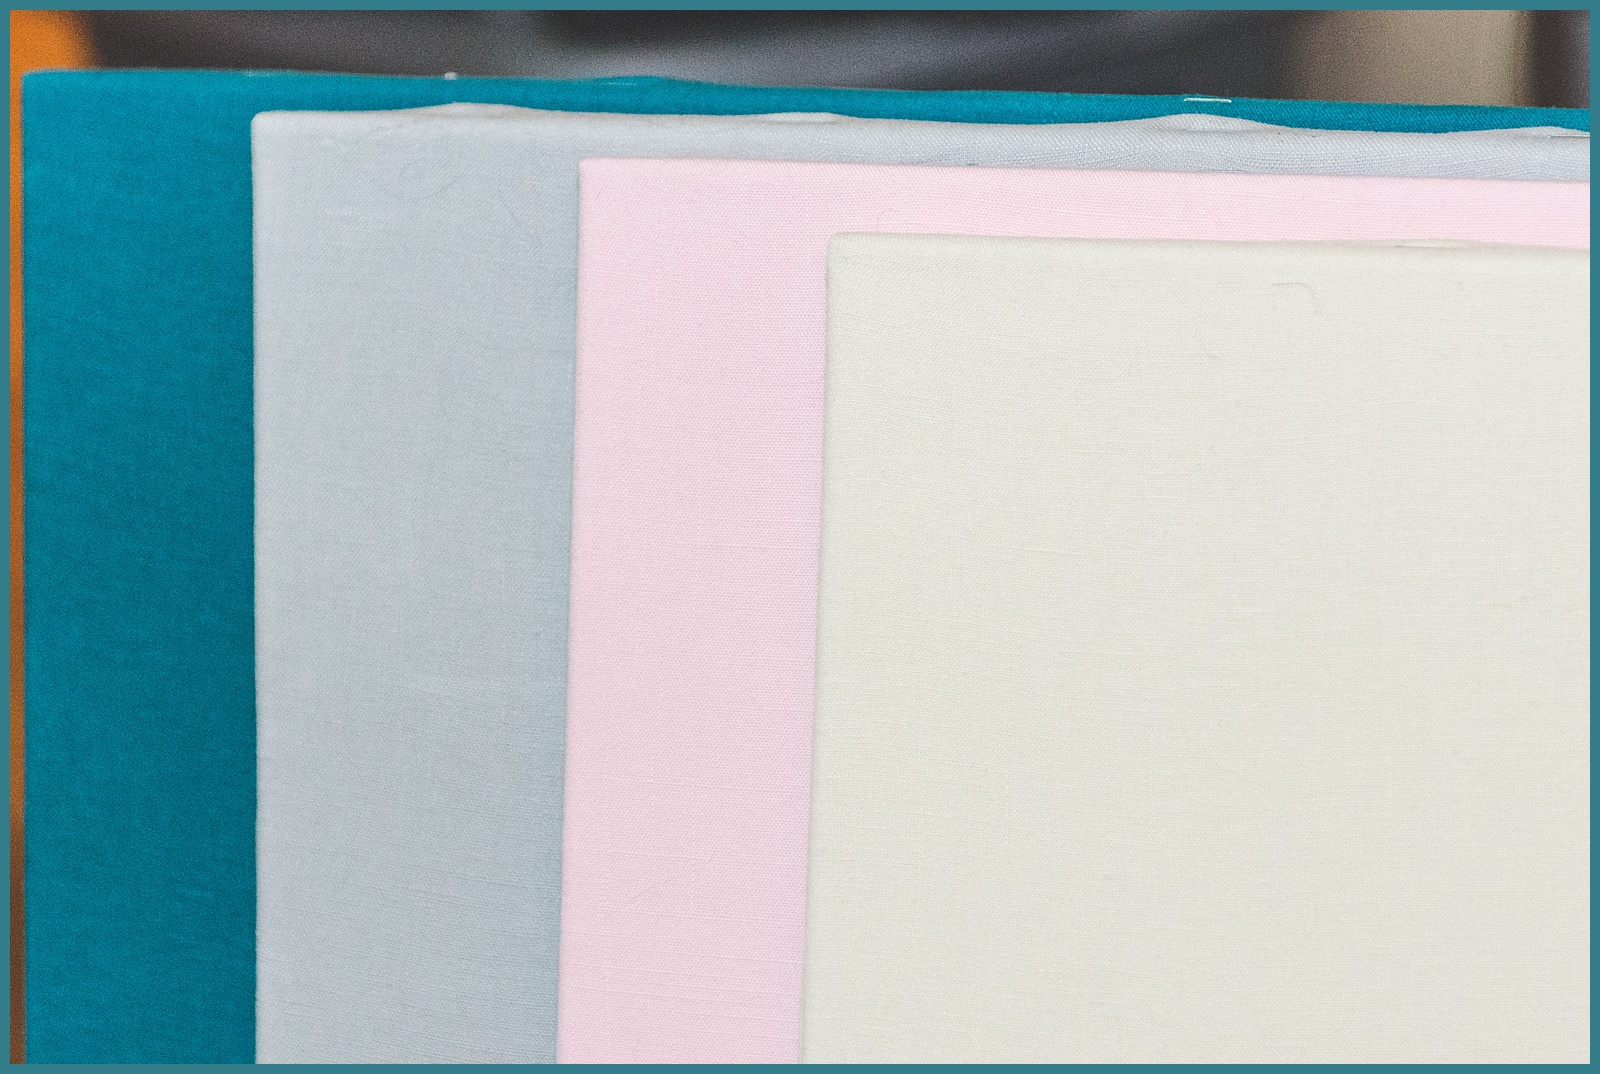
And voila! You have your very own styling board.
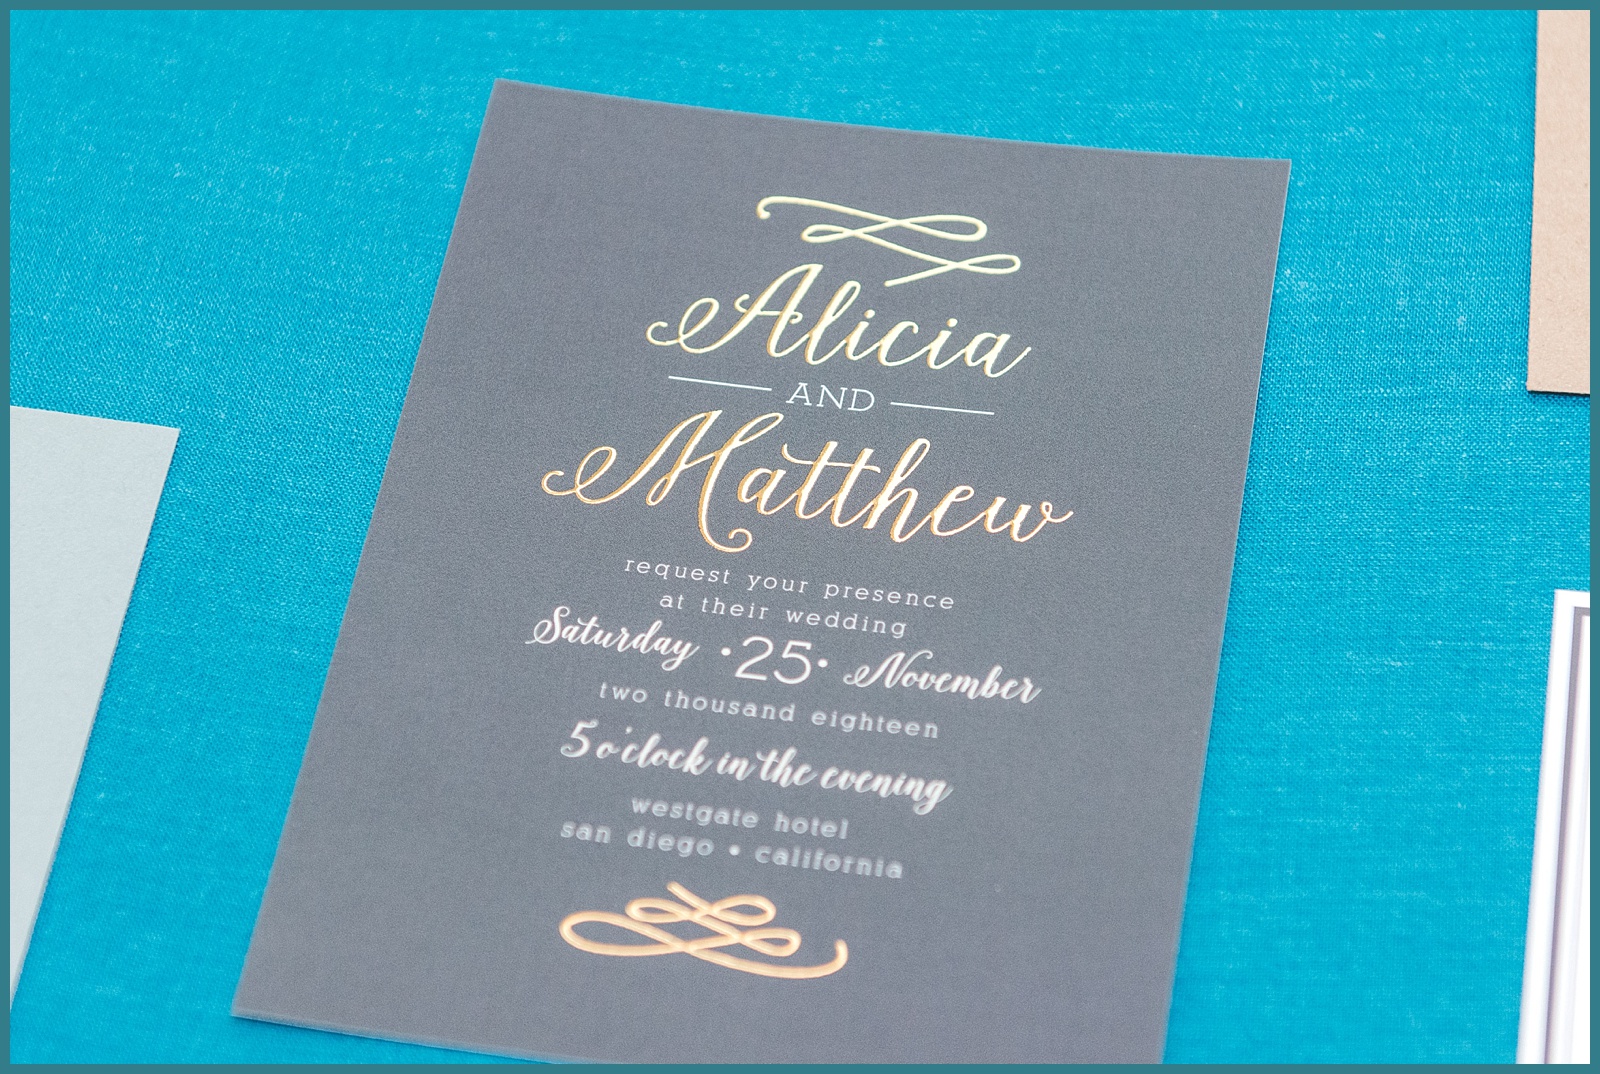
Let me know if you have any questions!
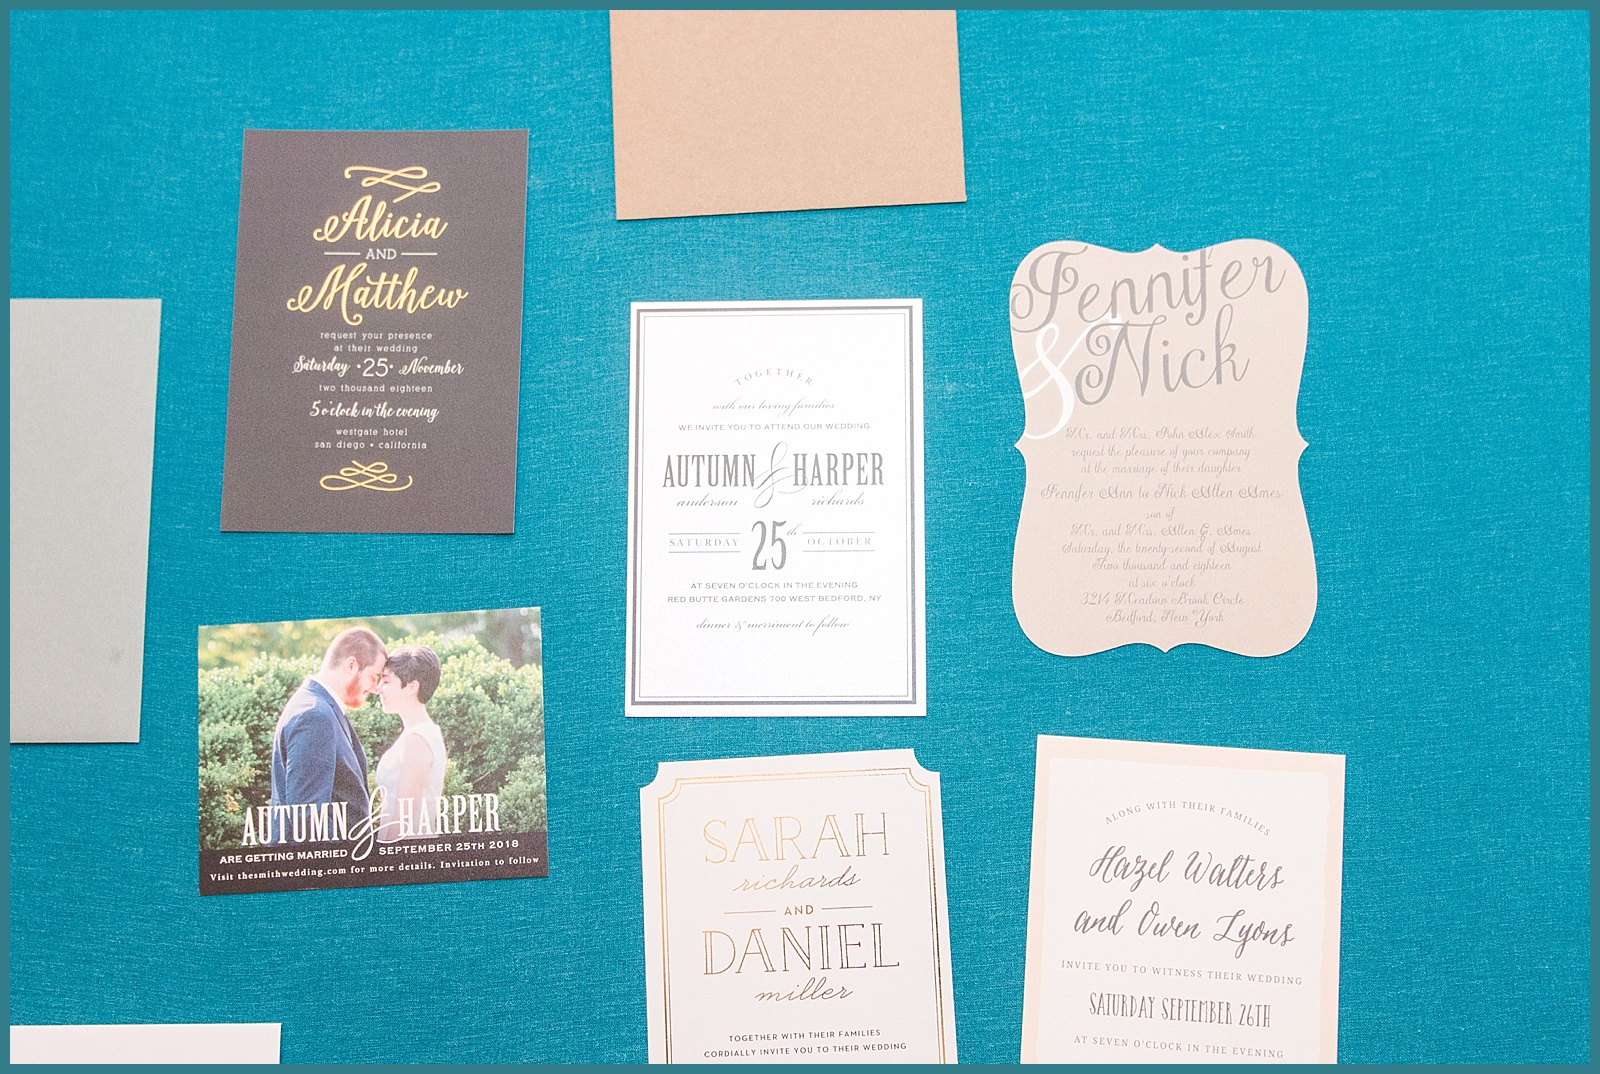
And thank you Basic Invite for the awesome samples of your beautiful cards!
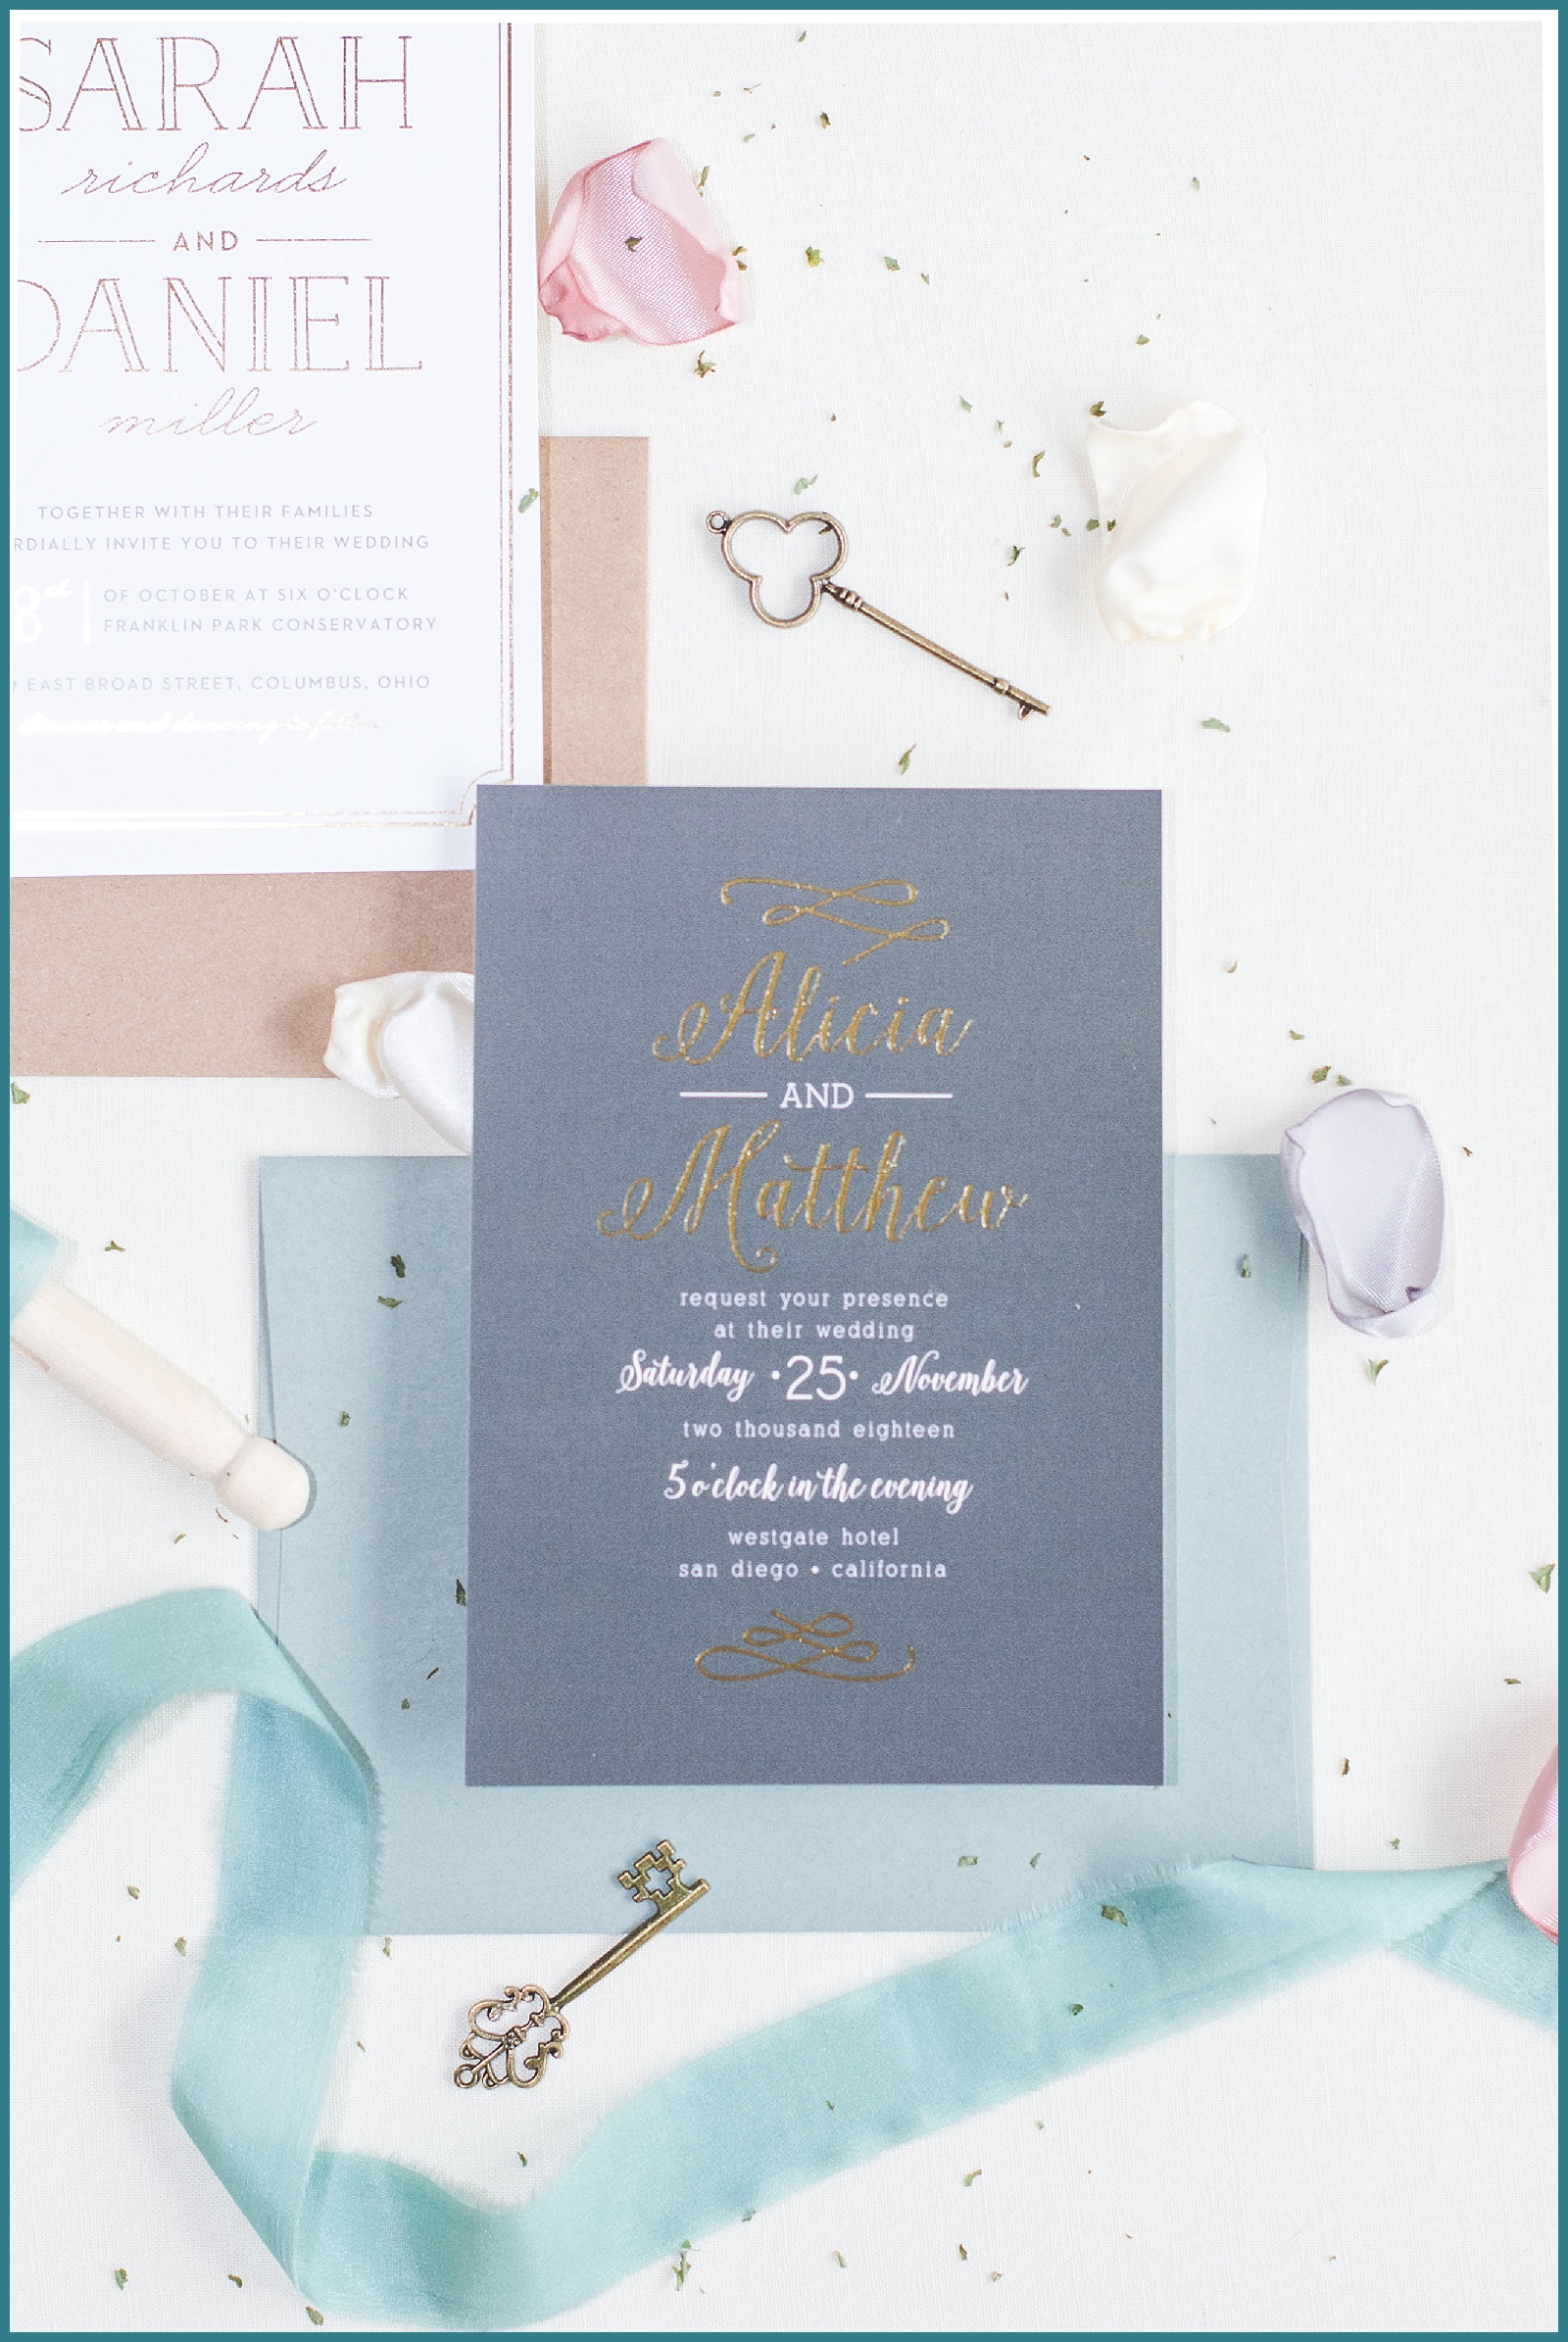
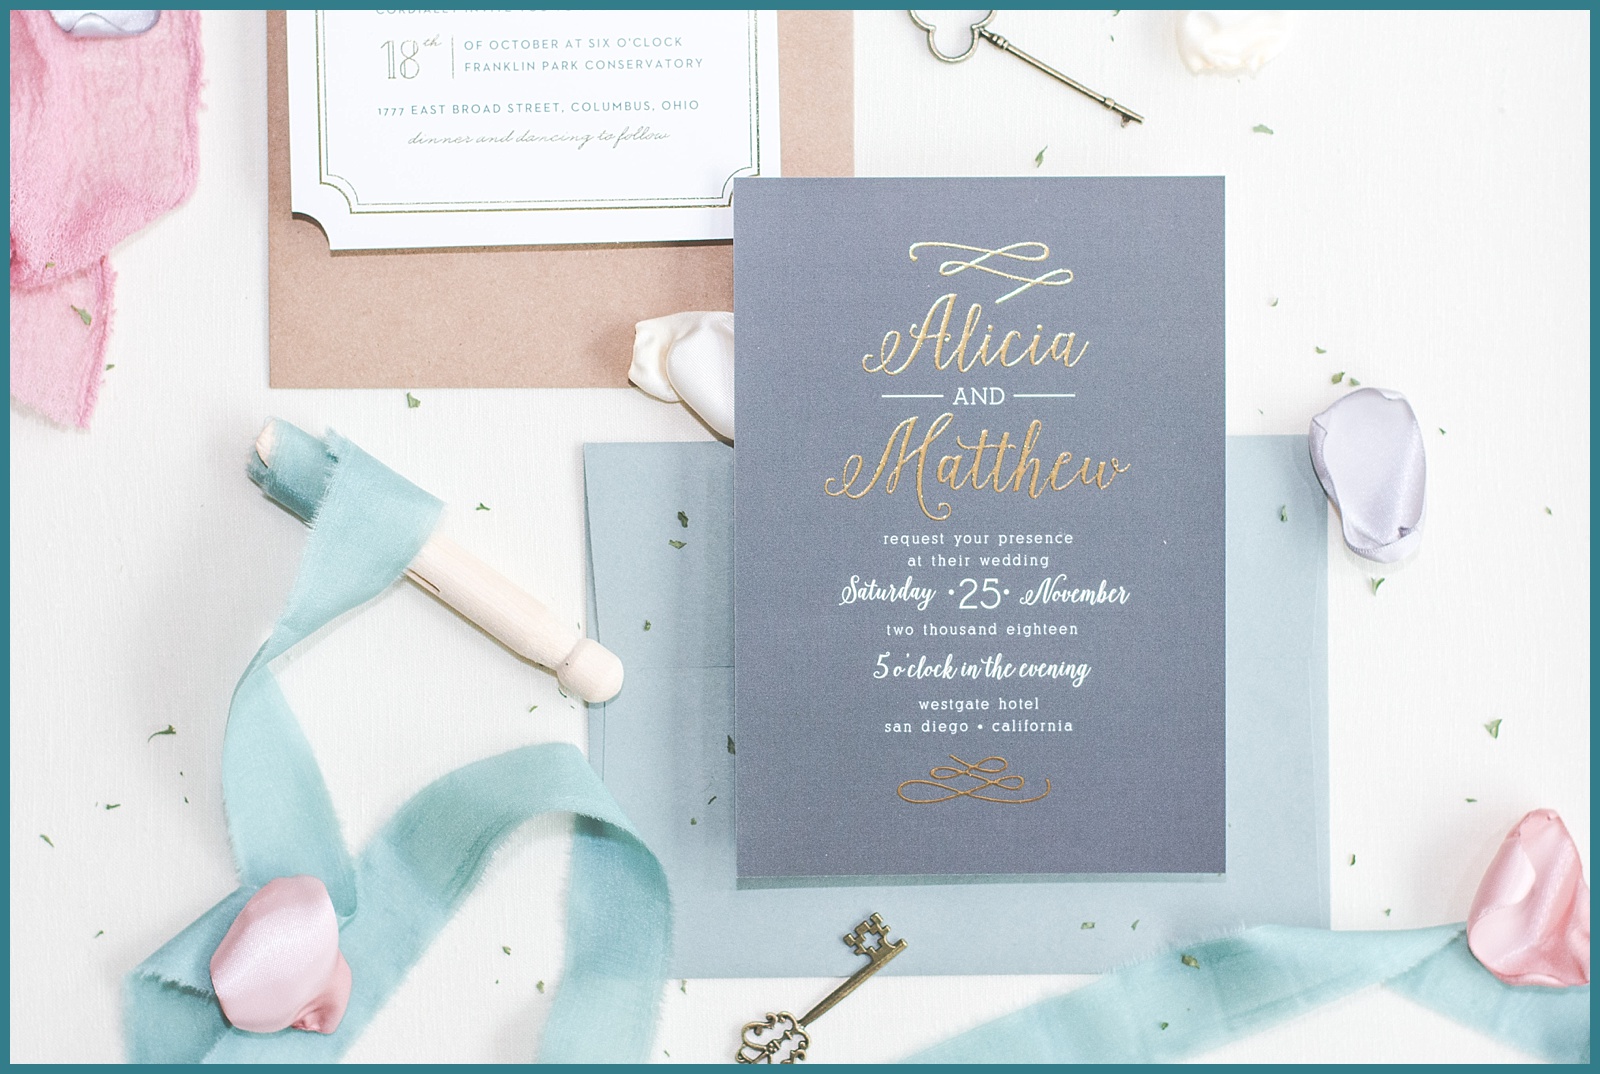
In my styling kit:
Rose Petals from Rose Garden Weddings on Etsy
Silk ribbon & cheese cloth from LinenLark on Etsy
Keys from A Key to Her Heart on Etsy
Related


